

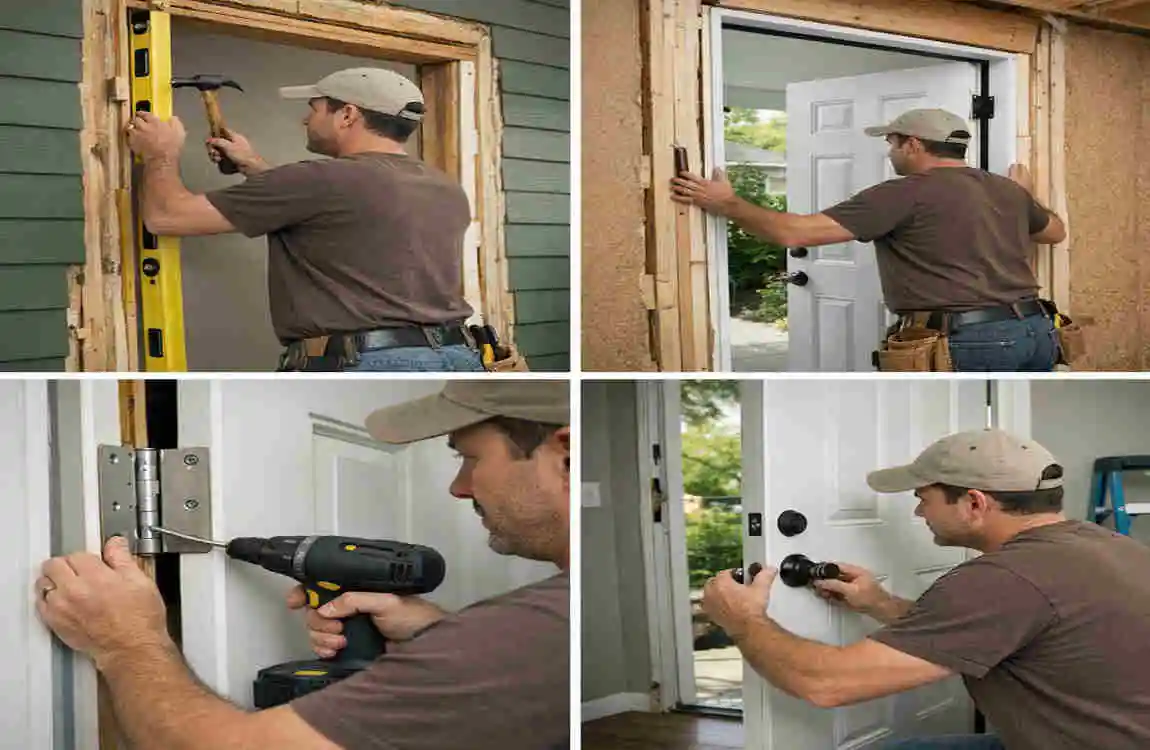
A properly installed exterior door does more than open and close. It protects your home from the weather, improves energy efficiency, enhances security, and adds to curb appeal. If the door is out of alignment, even a small gap can cause drafts, water leaks, or a door that sticks every time you use it.
If you are learning how to hang an exterior door, the biggest thing to remember is this: accurate measuring and careful leveling matter more than speed. You can have the best door in the world, but if the frame is not set correctly, the results will be frustrating.
Prepare for Exterior Door Installation
Gather the Right Tools and Materials
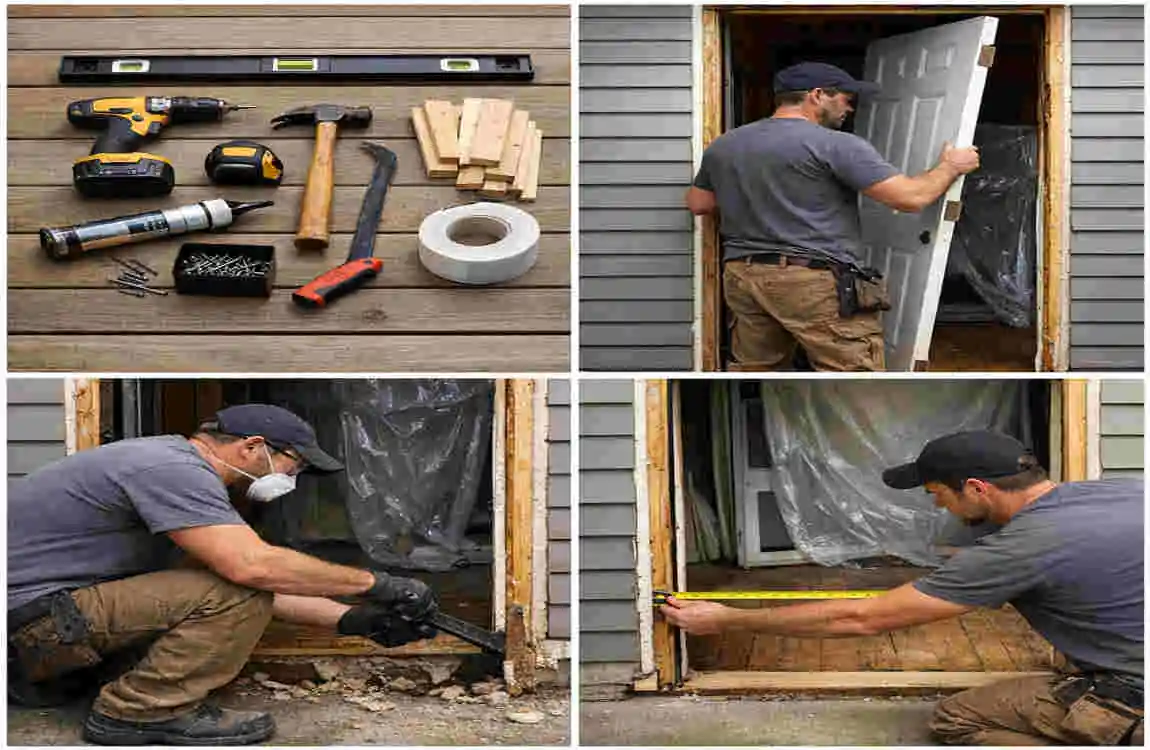
Before you begin, gather everything you need. Having the right tools nearby makes the job smoother and safer.
Here are the basics:
- Tape measure
- Level
- Drill and screwdriver
- Shims
- Exterior-grade screws
- Hammer
- Utility knife
- Caulk and caulking gun
- Low-expansion insulating foam
- Flashing or sill pan
- Safety glasses and gloves
You do not want to stop halfway through the job because a simple tool is missing. A little preparation saves a lot of stress.
Measure the Door Opening
Take your measurements carefully before buying or installing the door. Exterior openings are often slightly uneven, so do not rely on a single measurement.
Check these points:
- Rough opening width
- Rough opening height
- Door jamb depth
- Existing frame dimensions
- Floor and threshold condition
Measure the opening at multiple spots. If the width or height differs from one side to the other, it indicates the opening is not perfectly square. That is normal in many homes, but you need to account for it.
Inspect and Prepare the Rough Opening
Remove the old door and trim first. Then inspect the framing closely.
Look for:
- Rot
- Moisture damage
- Cracks
- Loose framing
- Structural damage
If you find damaged wood or weak framing, fix it before installing the new door. A new door will not perform well if the opening underneath is unstable.
Choose the Right Exterior Door
Pre-Hung vs. Slab Exterior Doors
A pre-hung door comes already mounted in its frame with hinges attached. That makes installation easier because much of the alignment work is already done for you.
A slab door is just the door itself. You must fit it into an existing frame, cut hinge mortises, and align the latch by hand. That takes more skill and time.
For most DIY homeowners, a pre-hung exterior door is the better choice.
Select the Correct Door Size and Swing
You also need to choose the right size and swing direction.
Think about:
- Door width and height
- Left-hand or right-hand swing
- Inswing or outswing
- Jamb width
- Threshold fit
The swing matters because the door must open in a way that feels natural and safe for your space. Measure carefully so the unit fits the opening without forcing it.
Consider Energy Efficiency and Weather Resistance
A good exterior door should help block drafts and resist moisture. Look for features such as:
- Weatherstripping
- Insulated door cores
- A strong threshold
- Durable exterior materials
- Quality seals around the frame
These details may seem small, but they make a big difference in comfort and long-term performance.
How to Hang an Exterior Door Step by Step
Position the Door in the Opening
Set the pre-hung door into the rough opening carefully. Make sure the exterior side faces the correct direction.
Support the threshold properly so the frame does not twist or sag. If the opening is too small, do not force the unit in. That can damage the frame and make alignment harder later.
Check the Hinge Side for Level and Plumb
Start on the hinge side. This side controls how the whole door sits.
Use a level to check that the jamb is straight from top to bottom. If it leans, the door may not swing correctly.
Add shims where needed, especially near the top hinge area. Secure the jamb gradually. Do not tighten everything at once. Small adjustments are easier to control.
Shim and Secure the Door Frame
Shims help hold the frame in the right position. Place them behind the hinge area and near the strike side where needed.
Good shimming helps you:
- Keep the frame straight
- Maintain even gaps
- Prevent door rubbing
- Support the jamb properly
Use exterior screws to fasten the frame, but do not overtighten. If you drive screws too hard, you can bend the jamb and throw the whole door out of alignment.
Check the Door Swing and Alignment
Open and close the door several times while you work. This helps you see whether the door rubs, sticks, or feels uneven.
Check the reveal, which is the even gap around the door. A consistent reveal is a good sign that the frame is aligned correctly.
If the door catches in one area, adjust the shims before moving on.
Secure the Strike Side
Once the hinge side is correct, work on the strike side.
Check that this jamb is plumb and that the latch meets the strike plate properly. Add shims behind the strike area if needed, then fasten the jamb carefully.
This step matters because the door must close smoothly and lock securely.
Secure and Seal the Threshold
The threshold must sit level and be fully supported. If it shifts or dips, water can get inside, and the door may drag.
Use exterior-grade sealant where needed. Follow the manufacturer’s instructions for threshold adjustment, because different door systems are built differently.
A good threshold keeps out water, air, and pests.
Insulate, Weatherproof, and Finish the Installation
Apply Exterior Caulk
Once the frame is secure, seal the exterior edges with caulk.
Focus on:
- Side jambs
- Top frame
- Threshold area
- Exterior trim
- Gaps between frame and siding
Caulk helps block water and air from entering around the door. Use a neat, even bead so the finish looks clean.
Insulate the Door Frame
Use low-expansion window-and-door foam in the gap between the frame and rough opening. This helps reduce air leaks without pushing the jamb out of place.
Do not use too much foam. Excess foam can expand too hard and shift the frame. Let it cure fully, then trim the extra foam carefully.
Install Trim and Finish the Door
Now you can install the interior casing, exterior trim, hardware, strike plate, and lockset. After that, apply paint or finish as required by the door material.
Make sure the finish is suitable for exterior exposure. The right finish helps protect the door from sun, rain, and wear.
Common Exterior Door Installation Mistakes to Avoid
Installing Without Checking the Rough Opening
If you skip this step, the door may not fit correctly. Even a small error in the opening can create major alignment problems later.
Skipping Shims
Shims are not optional. Without them, you may end up with:
- Uneven gaps
- Sticking doors
- Poor latch alignment
- Frame movement
A door needs support at the right points.
Using Too Much Expanding Foam
Too much foam can push the jamb out of shape. That may sound harmless at first, but it can keep the door from closing properly.
Forgetting Weatherproofing
A door is only as good as its seal. If you ignore flashing, sill protection, or caulking, moisture can get in and damage the frame.
Failing to Check the Door Multiple Times
Do not wait until the end to test the door. Check it often during installation. Small adjustments are much easier before everything is fully tightened.
Expert Tips for a Professional-Looking Exterior Door
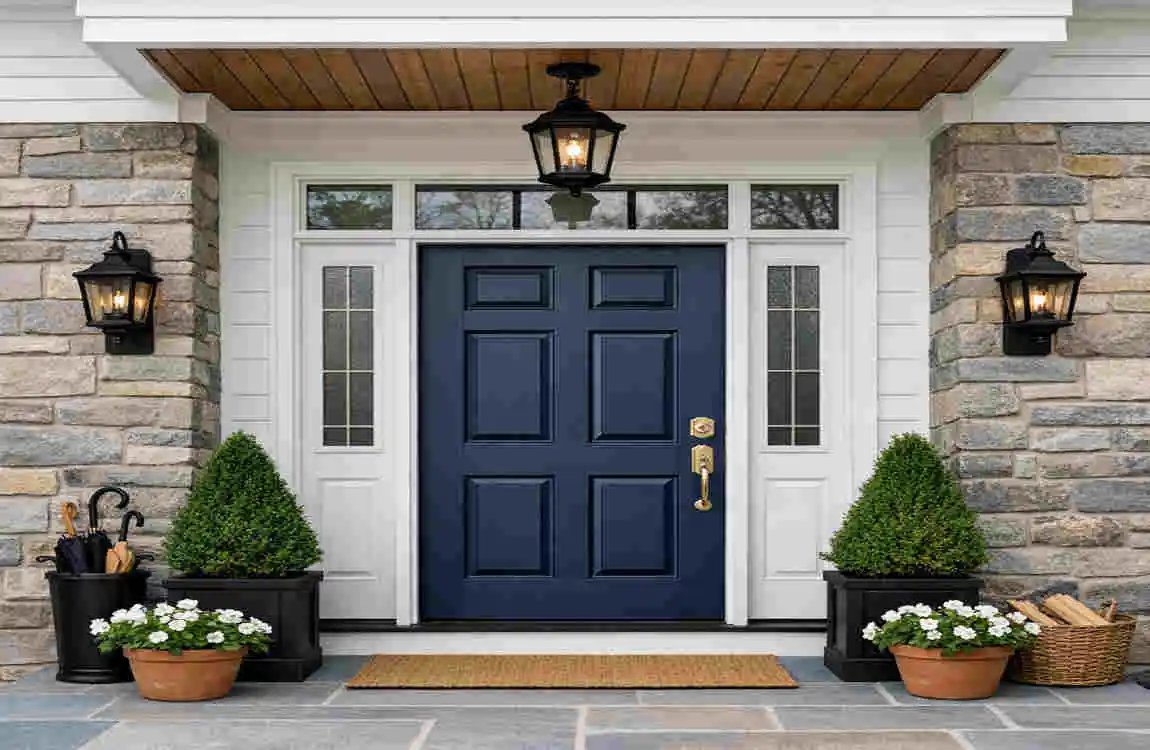
A neat installation comes down to patience and detail. Keep these tips in mind:
- Measure twice before fastening anything
- Keep the hinge side perfectly plumb
- Use shims behind major fastening points
- Check the reveal around the entire frame
- Use corrosion-resistant exterior screws
- Test the lock and latch before finishing
- Make sure water drains away from the threshold
- Do not ignore rot or structural damage
These simple habits can make the final result look and perform much better.
Frequently Asked Questions
How long does it take to hang an exterior door?
A simple pre-hung door installation often takes several hours. The exact time depends on the opening, the condition of the frame, and your experience level.
Is it easier to install a pre-hung exterior door?
Yes. A pre-hung unit is usually easier because the door is already attached to the frame and much of the setup is done for you.
How do I know if my exterior door is level?
Use a level on the jambs and threshold. If the bubble is off-center, the frame is not level or plumb.
What should I put under an exterior door threshold?
Use proper support and weatherproofing materials in accordance with the manufacturer’s instructions. The threshold must be stable and sealed.
Should I use expanding foam around an exterior door?
Yes, but only low-expansion window-and-door foam. Too much foam can push the frame out of alignment.
Why won’t my new exterior door close properly?
Common causes include poor shimming, an out-of-plumb jamb, an uneven threshold, or misaligned hinges.
Can I hang an exterior door by myself?
It may be possible with a lightweight pre-hung door, but having another person help makes the process easier and safer.
| Step | Expert Installation Tip |
|---|---|
| Measure the Doorway | Check the rough opening for proper width, height, and level. |
| Prepare the Frame | Remove debris and make sure the opening is clean and structurally sound. |
| Position the Door | Carefully place the prehung exterior door into the opening and center it. |
| Use Shims | Add shims behind the hinges and latch area to keep the frame straight. |
| Check Level & Plumb | Use a level to ensure the door frame is perfectly vertical and square. |
| Secure the Frame | Drive appropriate screws through the frame and shims into the wall framing. |
| Seal the Edges | Apply exterior-grade caulk and weatherproofing around the frame to prevent drafts and moisture. |
| Test the Door | Open and close the door several times to confirm smooth operation and a tight seal. |
