

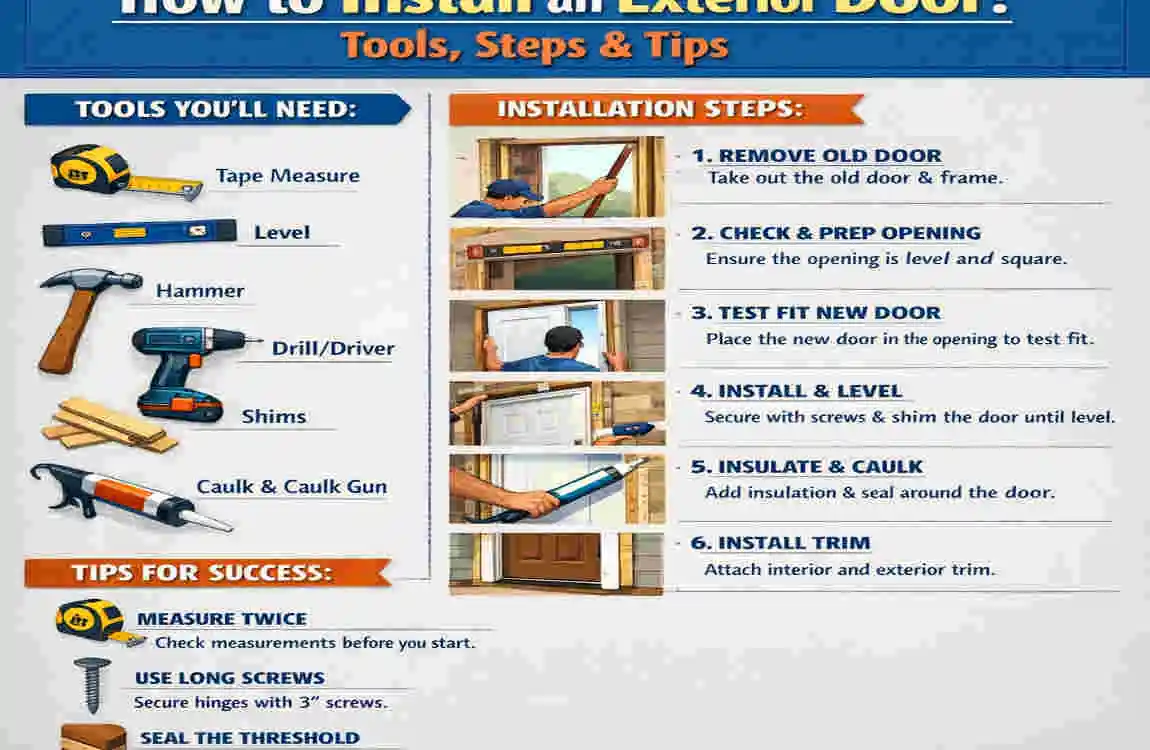
Installing a new exterior door can make a big difference in your home. It can improve security, energy efficiency, weather protection, and curb appeal all at once.
If your old door is damaged, drafty, hard to close, or simply outdated, a replacement may be worth it. A proper installation matters because even a good door will not perform well if the frame is crooked or poorly sealed.
Exterior Door Installation: What You Need to Know
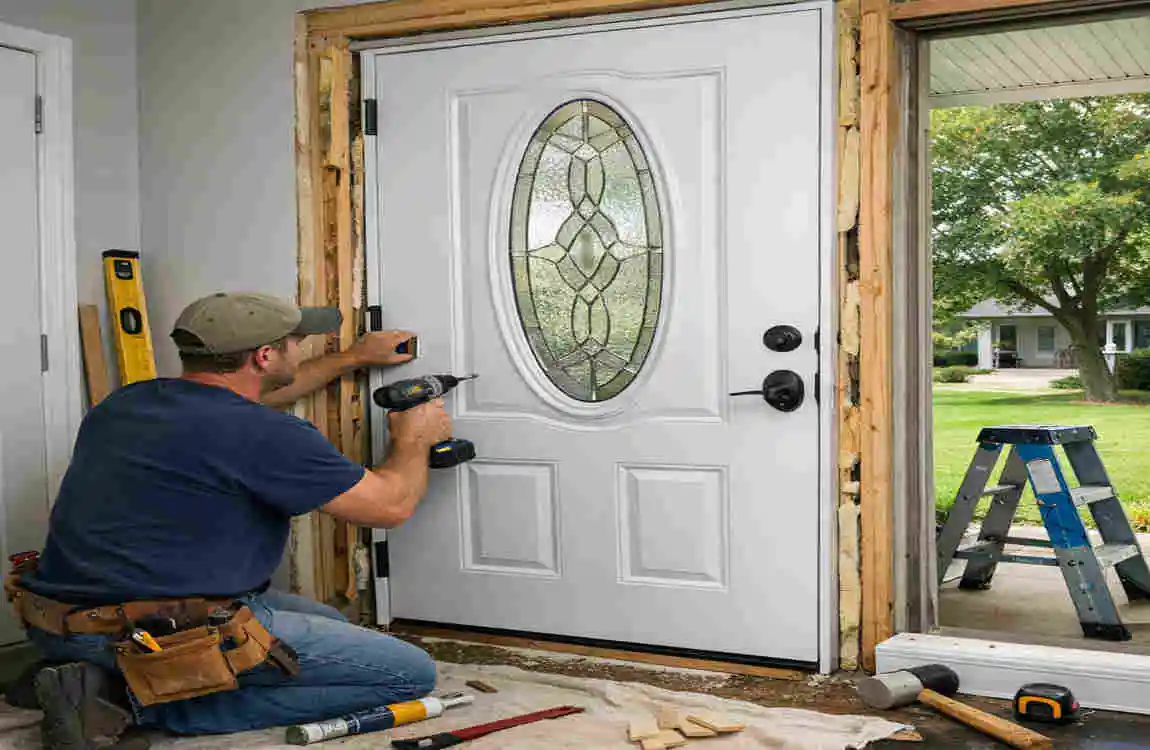
Why Proper Installation Matters
A well-installed exterior door does more than open and close. It helps keep your home comfortable and protected.
Proper installation can:
- Reduce drafts and moisture problems
- Improve security
- Help the door latch correctly
- Protect the wall around the opening
If the door is not set correctly, you may end up with gaps, sticking, leaks, or lock issues.
When to Replace an Exterior Door
You may want to replace your door if you notice:
- Visible damage or rot
- Air leaks around the frame
- Difficulty opening or closing
- Poor insulation
- An outdated or worn appearance
Sometimes the door slab is the problem. Other times, the whole unit needs to be replaced. A careful inspection helps you decide.
Tools and Materials You Need
Before starting, gather everything you need. That makes the work go more smoothly and helps avoid delays.
Essential Tools
- Tape measure
- Level
- Screwdriver or drill
- Hammer
- Utility knife
- Pry bar
- Caulk gun
- Shims
- Safety glasses
- Work gloves
Materials
- Exterior door unit
- Exterior-grade screws
- Low-expansion spray foam
- Exterior caulk
- Flashing or sill pan
- Wood shims
- Insulation materials
Make sure the replacement door matches the opening as closely as possible. That will make installation much easier.
How to Install an Exterior Door Step by Step
Measure the Existing Door Opening
Start by measuring the width, height, and depth of the opening.
Also check whether the opening is square. An out-of-square door opening can create problems later. Compare your measurements with the new door unit before you begin.
A few extra minutes here can save you from a major headache later.
Remove the Old Door
Take off the door slab first. Then remove the trim carefully.
After that, remove screws, nails, and any old frame material. Work slowly so you do not damage the surrounding wall more than necessary.
Once the old door is out, inspect the rough opening for rot, cracks, or other damage.
Prepare the Rough Opening
The rough opening should be clean, dry, and solid.
Remove debris and repair any damaged framing. Check the sill to make sure it is level. If the opening is too rough or uneven, the new door will be harder to set properly.
This step is important because the door can only perform well if the base underneath it is sound.
Install Flashing or a Sill Pan
Water protection is very important for exterior doors. A sill pan or flashing helps direct moisture away from the wall structure.
Place it according to the door manufacturer’s instructions. Be careful not to block drainage paths if the system is designed to allow water to escape.
This is one of the best ways to prevent future water damage.
Dry-Fit the New Door
Before fastening anything, place the new door unit into the opening.
Check the fit, the swing direction, and how the frame sits in the opening. This is your chance to catch problems early.
If the fit looks wrong now, it will only get harder after the door is secured.
Common Exterior Door Installation Mistakes
Skipping Accurate Measurements
Bad measurements can create big problems. The door may not fit, or it may leave unwanted gaps.
Always measure twice before buying or installing.
Installing the Frame Out of Level
A crooked frame can cause the door to bind, drag, or fail to latch properly.
That is why checking level and plumb is so important.
Using Too Much Spray Foam
Foam expands. If you use too much, it can distort the frame.
That small mistake can make the door difficult to operate.
Poor Waterproofing
If the flashing or caulking is weak, water can enter the wall system. Over time, that can lead to rot and other damage.
Overtightening Screws
When screws are too tight, the jamb can bend. That can throw off the door’s fit.
Tips for a Better Exterior Door Installation
Here are some simple ways to make the job easier and cleaner:
- Read the manufacturer’s instructions first
- Work with a helper when lifting or positioning the door
- Check level and plumb often
- Use exterior-rated fasteners
- Keep the opening protected from rain
- Test the lock before finishing trim
- Inspect the weather seal at the end
These small habits can make a big difference in the final result.
DIY Installation vs. Hiring a Professional
When DIY May Work
DIY can be a good option if:
- The rough opening is in good condition
- You already have basic tools and experience
- The new door matches the old opening closely
If the job is straightforward, many homeowners can handle it with patience and care.
When to Hire a Professional
A professional may be the better choice if:
- The framing is damaged or rotten
- Structural changes are needed
- The opening is out of square
- You are unsure about waterproofing
DIY vs. Professional at a Glance
FactorDIY InstallationProfessional Installation
Cost Usually lower upfront Usually higher upfront
Time Can take longer Often faster
Skill needed Moderate to high Handled by expert
Best for Simple replacements Damaged or complex openings
Risk of mistakes Higher Lower
If you are unsure, hiring a pro may save time and prevent costly mistakes.
Exterior Door Maintenance After Installation
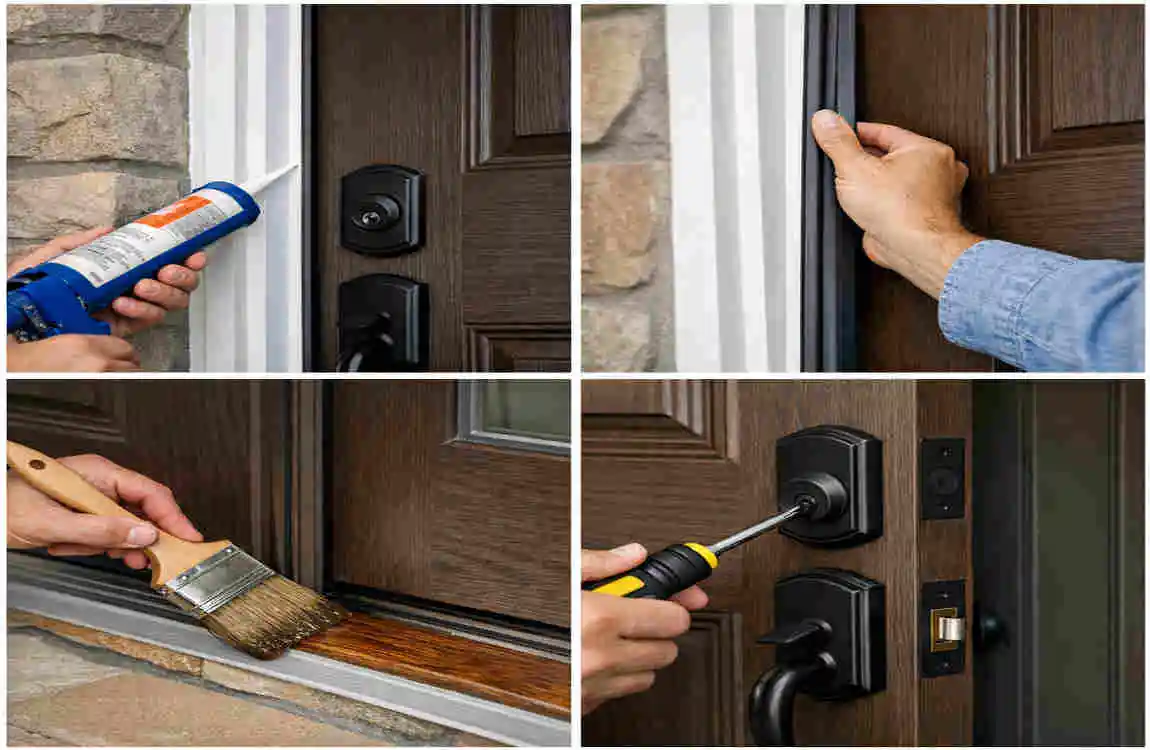
A new door still needs care to stay in good shape.
Regular Maintenance Tips
- Inspect caulking from time to time
- Check weatherstripping for wear
- Tighten loose hardware
- Keep hinges clean and lubricated if needed
- Watch for signs of moisture around the frame
- Repaint or refinish exposed surfaces when necessary
A little maintenance can help your door last much longer.
Frequently Asked Questions
How long does it take to install an exterior door?
A simple replacement may take several hours. If framing is damaged or changes are needed, it can take longer.
Can I install an exterior door myself?
Yes, if you have some DIY experience and the opening is suitable. Always follow the manufacturer’s instructions.
What is the most important part of exterior door installation?
Accurate measurement, proper leveling, secure fastening, and good weatherproofing are all essential.
Should I use expanding foam around an exterior door?
Use low-expansion foam made for doors and windows when recommended. Too much foam can deform the frame.
How do I know if my exterior door is level?
Use a level on the jamb and threshold in several spots before and during installation.
Do exterior doors need caulk?
Yes, exterior-grade caulk is commonly used to help seal gaps and reduce air and water infiltration.
Can I install a new exterior door in an old frame?
Sometimes, yes. If the existing frame is square, solid, and compatible, it may work. Otherwise, a full replacement unit is usually better.
| Section | Key Information |
|---|---|
| Tools Needed | Tape measure, level, drill, screwdriver, utility knife, shims, caulk gun, and hammer |
| Materials | Exterior door unit, screws, shims, exterior-grade sealant, flashing, and insulation |
| Measure | Measure the rough opening to confirm the new door will fit properly. |
| Prepare Opening | Remove the old door, clean the frame, and inspect for damage or moisture. |
| Apply Flashing | Install sill or flashing protection to help prevent water intrusion. |
| Position Door | Place the door unit into the opening and secure it temporarily with shims. |
