

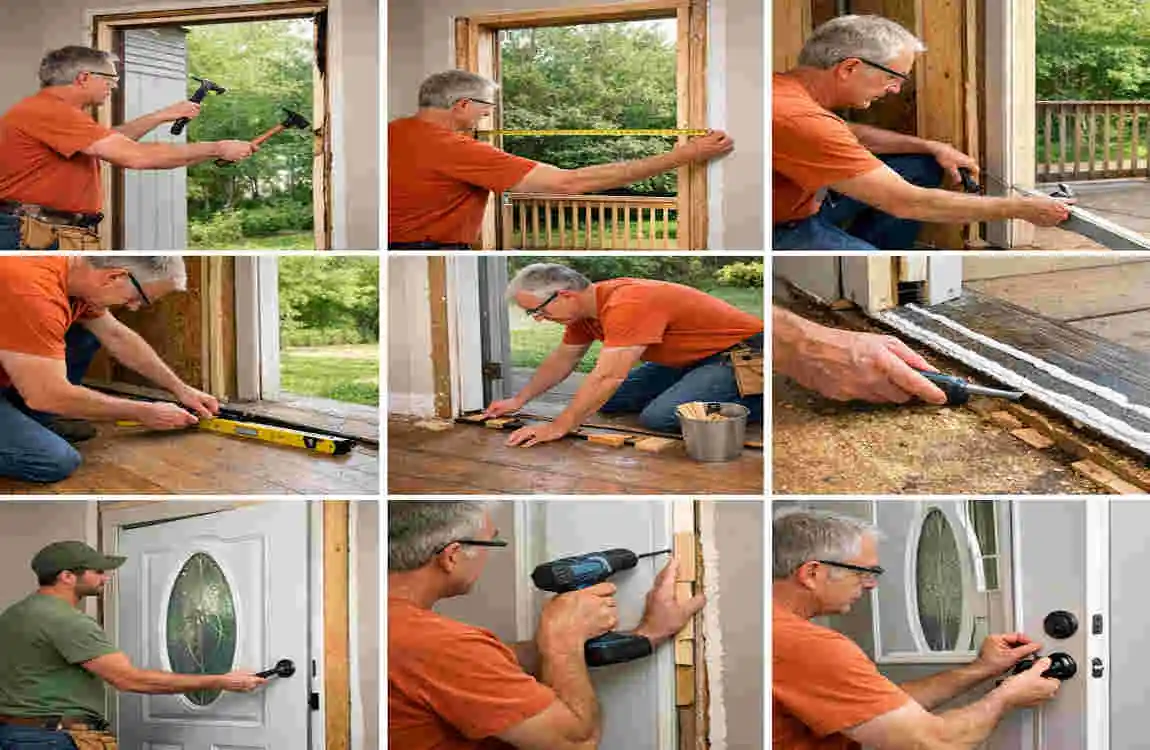
If you are learning how to install an exterior door, the first thing to know is that this project is very doable with careful planning. A new exterior door can improve your home’s security, energy efficiency, comfort, and curb appeal.
It can also help stop drafts, reduce water leaks, and make your entryway look fresh again. That said, installing an exterior door requires patience and accuracy. A small mistake can lead to gaps, sticking, or water getting inside.
Understanding Exterior Door Installation
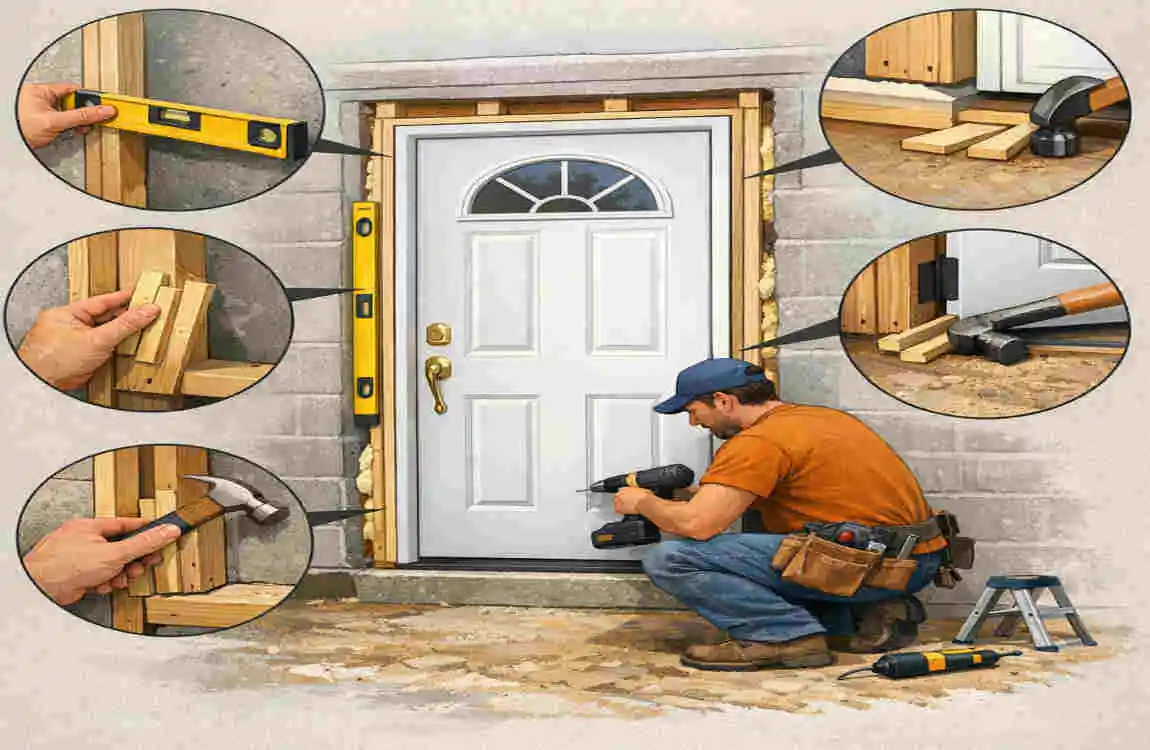
What an exterior door does
An exterior door is any outside-facing door that separates your home from the weather. It needs to do more than open and close. It must also protect your home from rain, wind, heat loss, and unwanted entry.
That is why proper exterior door installation matters so much. A door that is not fitted correctly can create problems right away, even if it looks fine at first.
Why proper installation matters
A properly installed door benefits your home in several ways. It can improve insulation, reduce drafts, and make the door easier to use every day. It also helps keep water out of the wall area around the frame.
If a door is uneven or poorly sealed, you may notice sticking, air leaks, or damage over time. So when you are thinking about installing an exterior door, remember that the installation is just as important as the door itself.
Signs your old door needs replacement.
You may need a new exterior door if you notice:
- Drafts around the frame
- Rot or rust
- Cracks or warping
- Difficulty opening or closing
- Light showing through gaps
- Water damage near the threshold
These signs usually mean the door is no longer sealing properly.
Pre-hung vs. slab exterior doors
Before you buy, you should know the difference between the two main types.
Door Type What It Is Best For
Pre-hung door A door already attached to its frame Easier installation
Slab door Just the door itself, without frame or hinges Replacing only the door panel
For most homeowners, a pre-hung exterior door is the easier choice. It saves time because the door and frame are already matched.
Basic tools and materials
Here is a simple list of what you will likely need:
- Tape measure
- Level
- Hammer
- Drill or driver
- Shims
- Caulk
- Screws
- Utility knife
- Insulation foam
- Exterior trim
You may also need a pry bar when removing an old door.
Safety first
Before you begin, wear gloves and eye protection. Exterior doors are heavy, and old frames can have sharp edges or hidden damage.
Also make sure the area is stable and dry. If the entry is exposed to bad weather, try to work on a clear day.
Measuring the Door Opening Correctly
Accurate measurement is one of the most important parts of installing an exterior door. If the size is wrong, the door will not fit well.
Measure the rough opening.
The rough opening is the framed space in the wall where the door will go. Measure the width and height carefully.
Do not measure only the old door panel. You need the full opening, including the frame space.
Measure width, height, and jamb depth
You should check:
- Width from side to side
- Height from top to bottom
- Jamb depth from inside wall to outside wall
The jamb depth matters because it helps the new frame sit correctly in the wall.
Check whether the opening is square.
A square opening means the corners are even and the sides line up properly. You can check this by measuring diagonally from corner to corner in both directions.
If the measurements are close, the opening is square enough. If they are far apart, the opening may need adjustment.
Understand rough-opening requirements
Most pre-hung doors require a rough opening slightly larger than the door unit. That space allows room for shims, leveling, and adjustments.
Always check the manufacturer’s instructions before buying. Different doors may need different allowances.
Common measurement mistakes to avoid
Many people run into trouble because they:
- Measure only the old door, not the opening
- Forget to check jamb depth
- Skip the diagonal square check
- Buy a door before confirming the size
- Ignore frame damage hidden behind trim
Taking your time here will save you a lot of stress later.
Preparing the Opening and Installing the Door
Once you have the right door, it is time to prepare the opening. This step makes the rest of the job much easier.
Remove the old exterior door.
Start by carefully removing the old door and trim. If you are replacing a pre-hung unit, you may need to remove the whole frame.
Work slowly so you do not damage the surrounding wall more than necessary.
Inspect the frame and wall.
After the old door is out, check the surrounding area for rot, moisture damage, or loose material. If the wood is damaged, repair it before moving ahead.
A strong door depends on a strong opening.
Clean and prepare the rough opening
Remove debris, nails, dust, and loose pieces. The surface should be clean and ready for the new frame.
If the opening is uneven, try to correct the issue now. A better base helps the door sit properly.
Check the sill and threshold.
The sill is the bottom part of the opening. It needs to be solid, level, and ready for weather protection.
If the sill is damaged, replace or repair it before installing the new door. A poor sill can lead to leaks and draft problems.
Apply flashing or weather protection.
Use flashing or another weather-resistant barrier where needed. This helps protect the wall from moisture.
Good waterproofing is a key part of exterior door installation, especially in rainy or humid areas.
Position the new door temporarily.
Set the pre-hung door into the opening and check the fit. Do not fully secure it yet.
This is your chance to confirm that the door is where it should be.
How to Install an Exterior Door Step by Step
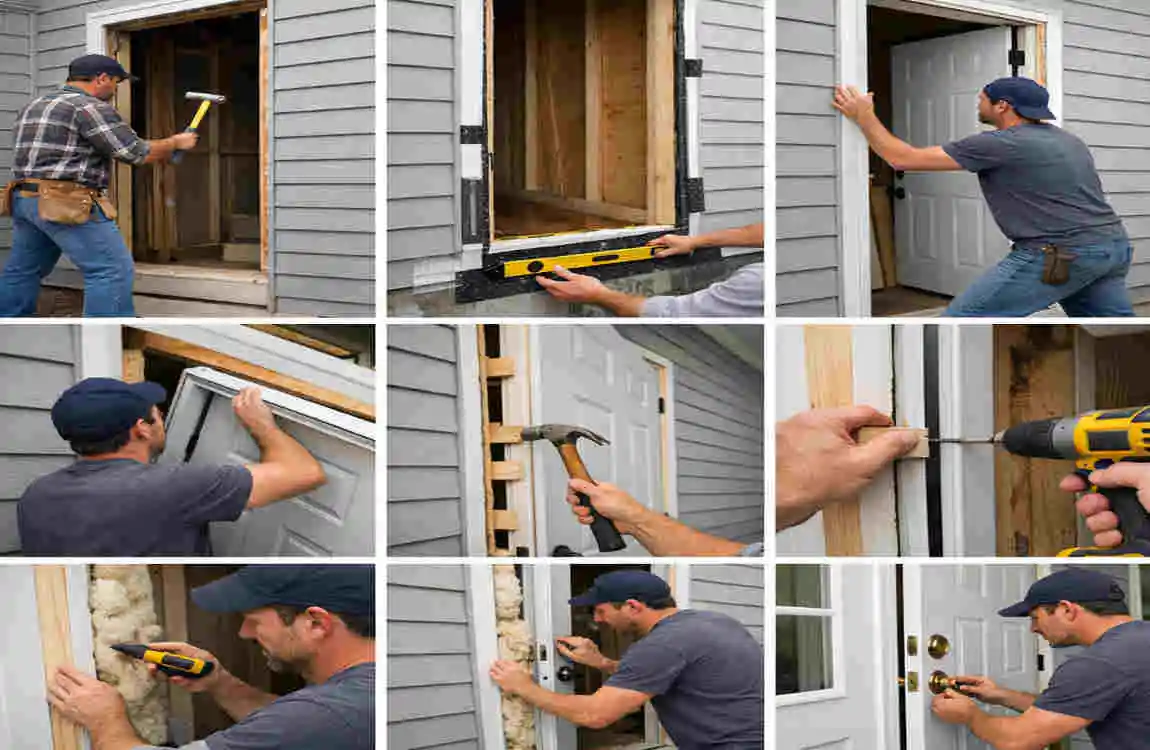
Now let’s go through the actual installation in a simple order.
Place the door into the opening.
Lift the door unit into the rough opening. Center it carefully so there is an even gap around the frame.
You may need help here because exterior doors can be heavy.
Check the hinge side for level and plumb.
Use a level to check the hinge side. Plumb means straight up and down.
If this side is not straight, the door may not swing properly later.
Insert and adjust shims.
Add shims behind the jamb to help hold the frame in the right position. Shims are small wedges that let you fine-tune the fit.
Use them where needed, but do not overpack the space. Too many shims can cause stress on the frame.
Secure the hinge-side jamb.
Once the hinge side is level and straight, fasten it into place with screws. Start with the hinge side because it sets the shape for the rest of the installation.
Check the reveal around the door.
The reveal is the small, even space around the door edge. It should look balanced all the way around.
If one side is tight and another side is wide, adjust before moving forward.
Weatherproofing, Insulation, and Finishing
A door is not finished until it is sealed properly. This step helps protect your home from weather and energy loss.
Why sealing matters
Even a well-installed door can leak air if the gaps are not sealed. That can cause drafts, water entry, and higher heating or cooling costs.
Add low-expansion insulation
Use low-expansion foam around the frame. This type is safer because it does not distort the frame.
Be careful not to overfill the gaps.
Apply exterior-grade caulk
Caulk around the outside edges where the trim meets the wall. Use a product made for outdoor use.
This helps keep moisture out and creates a cleaner finish.
Seal gaps around the threshold
The bottom of the door is one of the most common problem areas. Check that it seals well when closed.
A poor threshold seal can let in water, insects, and cold air.
Install trim and casing.
Finish the look by adding trim or casing around the door. This also helps cover the edges of the installation.
A neat trim job makes the whole project look complete.
Adjust weatherstripping
Weatherstripping helps block drafts around the edges of the door. If the seal feels loose, adjust or replace it.
This small detail can make a big difference in comfort.
Final inspection
Walk through the entire installation one last time. Check the alignment, seal, threshold, and swing.
If anything seems off, fix it now before regular use.
Common Exterior Door Installation Mistakes
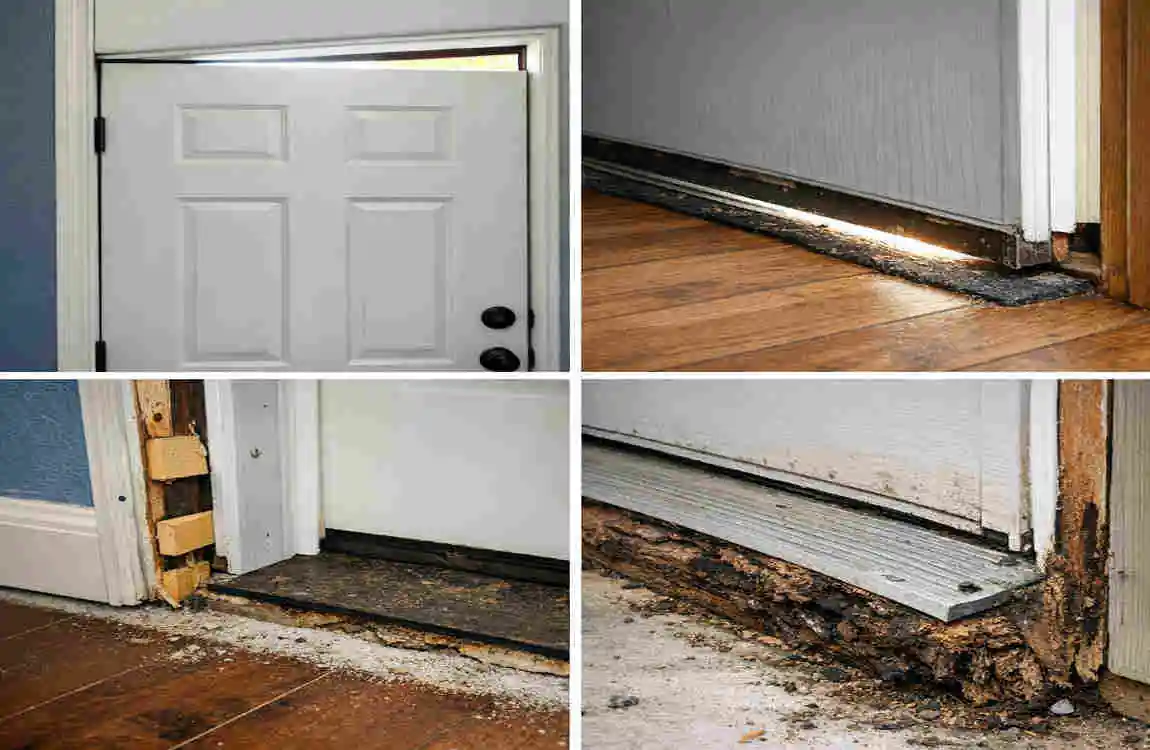
It is easy to make small mistakes during door replacement. Knowing them ahead of time helps a lot.
Mistakes to avoid
- Choosing the wrong door size
- Not checking the rough opening
- Installing the door out of level or plumb
- Using too few shims or screws
- Tightening the frame too much
- Skipping flashing or waterproofing
- Leaving gaps around the jamb
- Setting the threshold poorly
- Ignoring manufacturer instructions
When to hire a professional
If the opening is badly damaged, the wall is uneven, or the door is unusually heavy or complex, a professional may be the better choice. That is especially true if you are not comfortable working with structural repairs.
Exterior Door Installation FAQ
How difficult is it to install an exterior door?
It is a moderate DIY project. A simple replacement can be manageable, but it still takes care and accuracy.
How long does exterior door installation take?
A basic job may take several hours. More complex projects can take a full day or longer.
Can I install an exterior door myself?
Yes, if you are comfortable using basic tools and taking careful measurements.
What size rough opening is needed for an exterior door?
It depends on the door size and type. Always check the product instructions before buying.
Should an exterior door swing in or out?
Most home entry doors swing inward, but the right choice depends on your layout, weather exposure, and local rules.
How do I stop drafts around an exterior door?
Use proper weatherstripping, caulk, insulation, and threshold adjustment.
Do I need to replace the frame when installing a new door?
Not always. If the frame is in good condition, you may keep it. If it is damaged, replacement is usually better.
What type of insulation should be used around an exterior door?
Use low-expansion spray foam made for doors and windows.
How much does it cost to install an exterior door?
Costs vary based on the door type, labor, hardware, and repair needs.
When should I hire a professional?
Hire a pro if the opening is damaged, the wall needs repair, or the installation feels too complicated.
| Step | What to Do | Key Tip |
|---|---|---|
| Measure the Opening | Check the door opening width, height, and depth. | Measure in several places for accuracy. |
| Remove the Old Door | Take out the existing door, frame, trim, and damaged materials. | Inspect the rough opening for rot or moisture damage. |
| Prepare the Opening | Clean and level the opening before installation. | Make sure the sill area is flat and properly supported. |
| Install the Door Frame | Position the prehung exterior door into the opening. | Use shims to keep the frame square and level. |
| Secure the Door | Fasten the frame to the wall studs using appropriate screws. | Check that the door remains plumb while tightening. |
