
Sealing your garage floor might not be the first thing on your mind regarding home improvement, but it’s one of the smartest investments you can make for your property. A sealed garage floor looks great and offers long-term protection and durability.
Why Seal Your Garage Floor?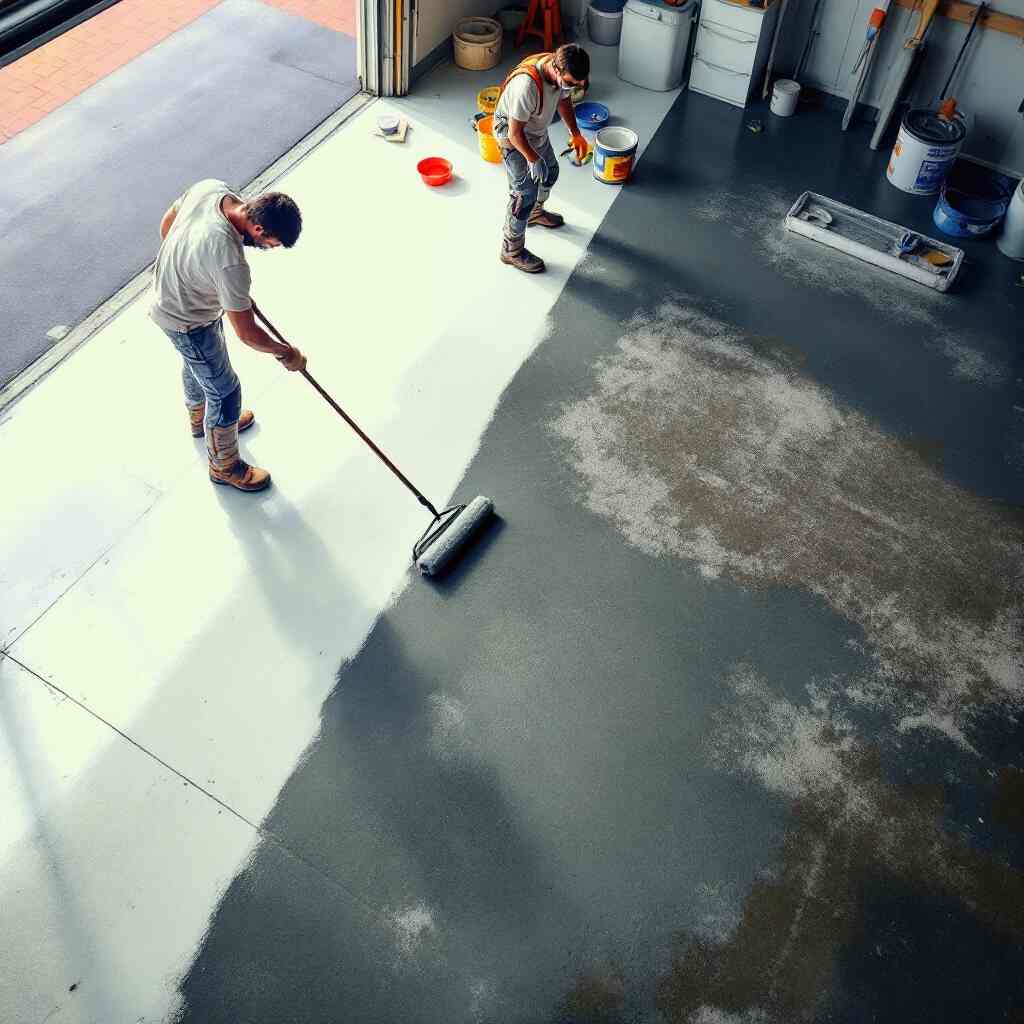
Garage floors often endure a lot of wear and tear. From heavy vehicles and oil spills to moisture and dirt, the concrete surface can quickly deteriorate if left untreated. Sealing your garage floor proactively protects it from damage and ensures it stays in top condition for years. Below are the key benefits of sealing your garage floor:
Protection from Stains, Chemicals, and Moisture
Unsealed concrete is porous, soaking up oil, grease, and other chemicals leaves behind permanent stains. A good sealer creates a protective barrier, preventing these substances from penetrating the surface.
Easier Cleaning and Maintenance
Once sealed, your garage floor becomes much easier to clean. Dust, dirt, and spills can be wiped away effortlessly, saving time and effort.
Enhanced Appearance
A sealed garage floor exudes a polished and professional look. Sealers can add a glossy or matte finish, making your garage brighter and more appealing.
Increased Durability
Sealing strengthens the surface of the concrete, reducing the risk of cracking, chipping, and wear caused by daily use.
Boosting Property Value
A well-maintained garage floor can enhance your home’s overall aesthetic and add to its resale value.
Common Problems with Unsealed Garage Floors:
- Cracking and chipping due to wear and temperature changes
- Dusty surfaces that are hard to clean
- Permanent stains from oil, grease, or rust
- Weakened floors from moisture infiltration
Understanding Garage Floor Sealers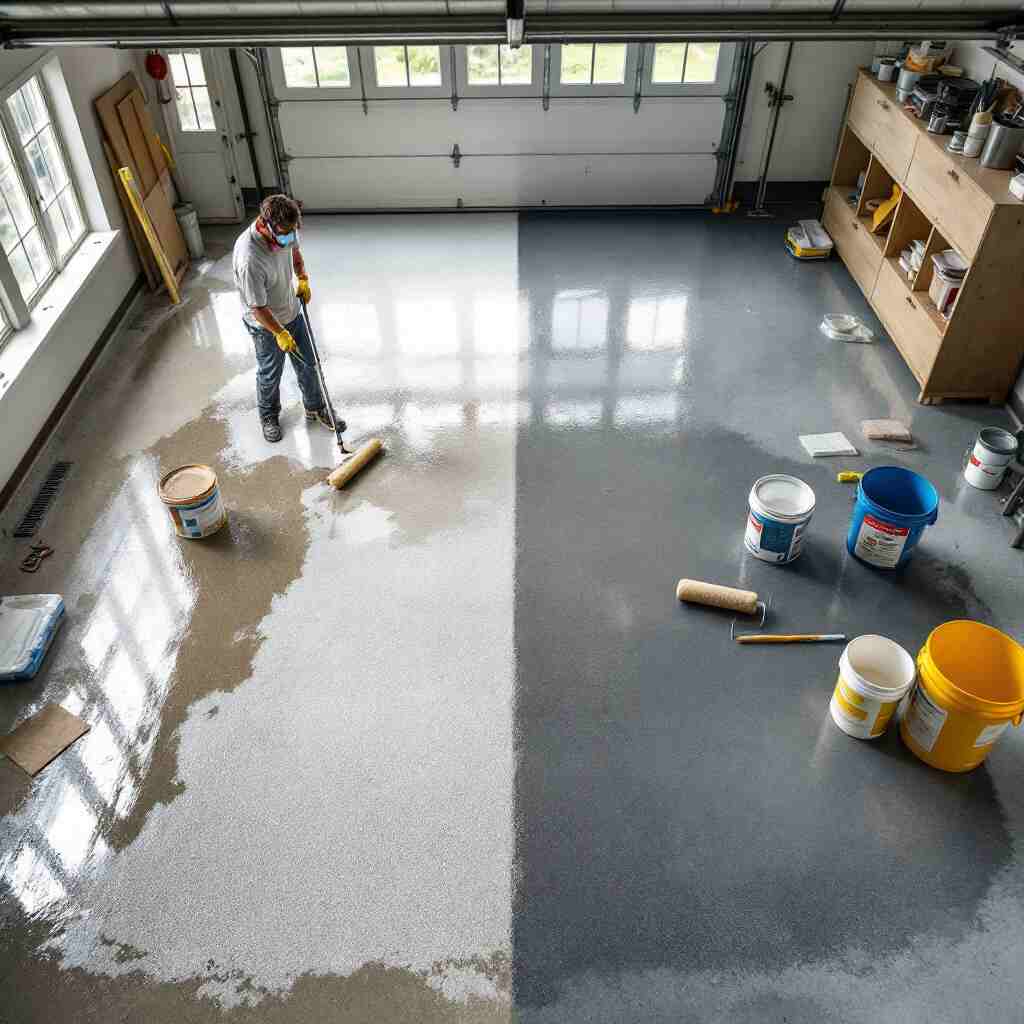
Choosing the right sealer is one of the most crucial steps in this process. Sealers come in different types, each with unique properties. Here’s an overview of the most common options:
Sealer TypeProsCons
Acrylic Sealers are affordable, quick-drying, UV-resistant, and less durable but require frequent reapplication.
Epoxy Sealers Extremely durable, glossy finish, chemical-resistant Longer application time, more expensive
Polyurethane Sealers High durability, abrasion-resistant, clear finish Expensive, tricky to apply
Penetrating Sealers Protects from within; long-lasting Doesn’t enhance appearance, costly.
How to Choose the Right Sealer
- Climate Matters: If you live in a humid area, opt for a moisture-resistant sealer like epoxy.
- Usage: For heavy-duty use, polyurethane or epoxy sealers are best.
- Finish Preference: Acrylic sealers are great for a glossy look while penetrating sealers offer invisible protection.
Tools and Materials Needed
Before starting, gather the necessary tools and materials. Having everything ready will save you time and make the process smoother.
Checklist of Tools and Materials
- Paint roller and extension pole
- Paint tray
- Brushes for edges and corners
- Protective gloves, mask, and eyewear
- Concrete cleaner or degreaser
- Crack filler or epoxy repair kit
- Etching solution (if required)
- Chosen garage floor sealer
- Plastic sheeting and painter’s tape
- Broom, mop, and vacuum
Tips for Selecting High-Quality Tools:
- Choose a roller with a medium nap for even application.
- Invest in a durable crack filler to ensure long-lasting repairs.
- Use a high-quality sealer from a trusted brand for better results.
Preparing the Garage Floor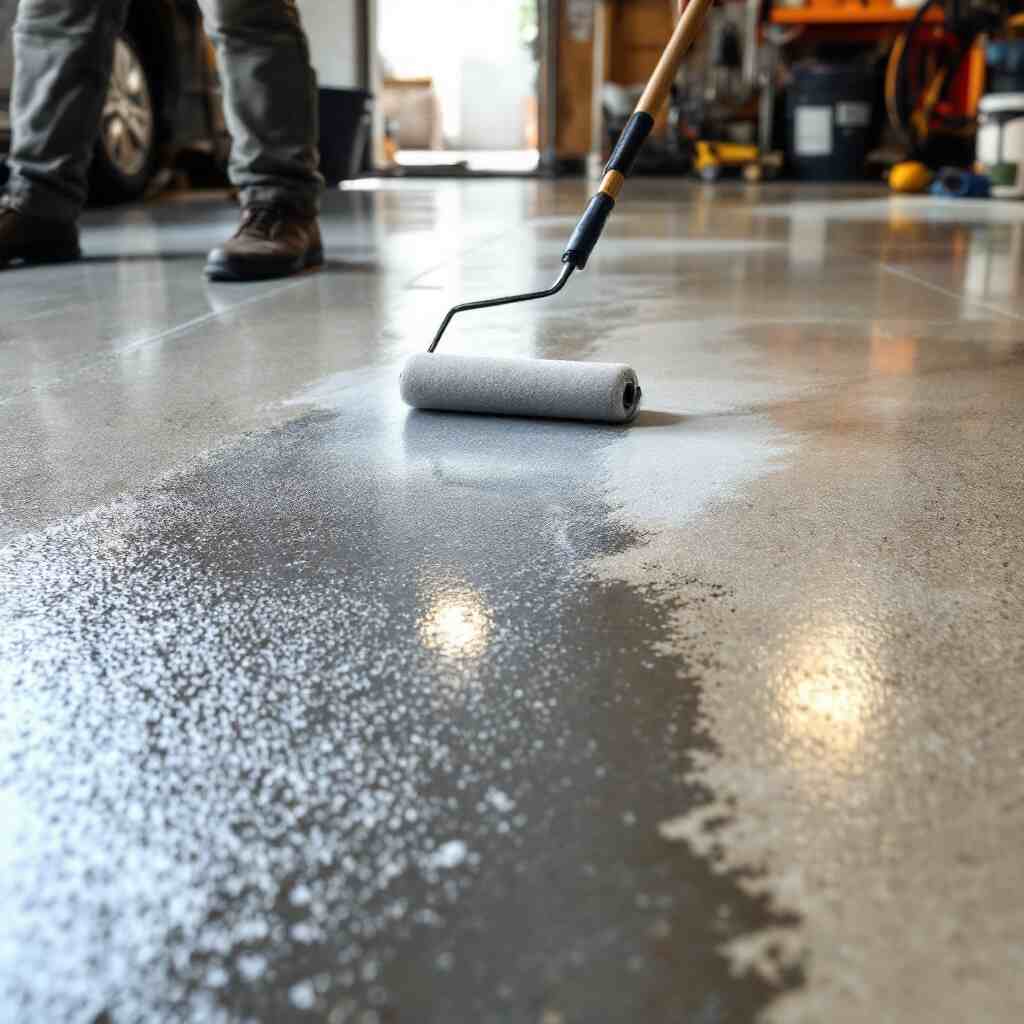
Preparation is the foundation of a successful sealing project. Skipping or rushing this step can lead to subpar results, so take your time.
Clear the Garage
Remove all vehicles, tools, and storage items to create a clean workspace.
Clean the Floor Thoroughly
- Sweep and vacuum to remove dust and debris.
- Use a degreaser to tackle tough oil stains.
- For old coatings, use a grinder or chemical stripper to remove them.
Repair Cracks and Damage
Fill any cracks, pits, or surface damage with a crack filler or epoxy repair kit. This ensures a smooth and even finish.
Etch the Concrete
Etching helps the sealer adhere better to the surface. Mix an etching solution with water and apply it evenly using a mop. Let it dry completely before moving on.
Protecting Surrounding Areas
Protect surrounding areas with painter’s tape and plastic sheeting to avoid accidental spills or damage. Don’t forget to wear protective gear and ensure proper ventilation by opening doors and windows.
Choosing and Mixing the Sealer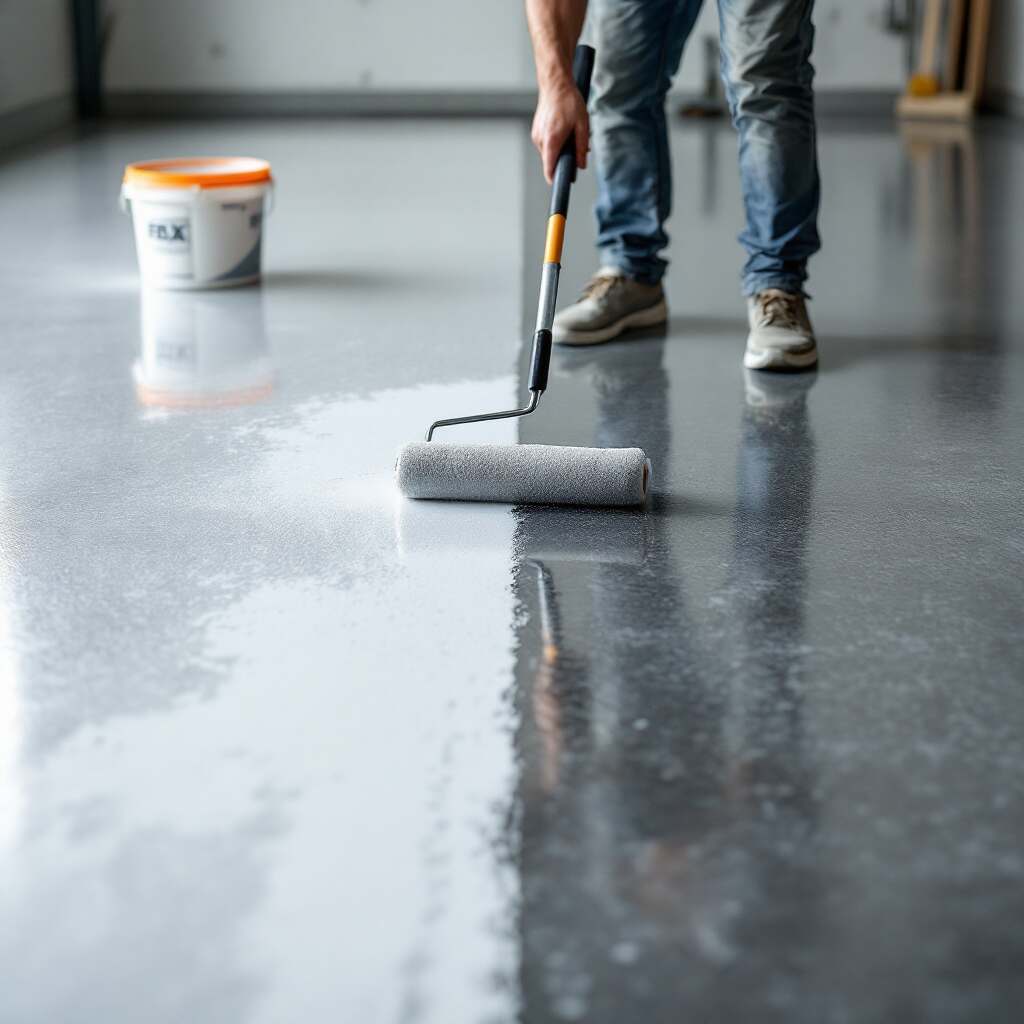
Factors to Consider
- Durability: Will the floor handle heavy loads or be used for light?
- Appearance: Do you prefer a glossy, matte, or natural look?
- Ease of Application: Some sealers need mixing, while others come pre-mixed.
Mixing Tips
- Follow the manufacturer’s instructions carefully.
- Stir the sealer thoroughly to achieve a consistent mix.
Applying the Sealer with a Roller
Now comes the fun part—applying the sealer! Using a roller ensures even coverage and makes the process quicker.
How to Apply Sealer
- Start at the farthest corner and work toward the garage exit.
- Use a roller for large areas and a brush for edges and corners.
- Work in small sections to maintain a wet edge and avoid lap marks.
- Overlap each section slightly for complete coverage.
Mistakes to Avoid
- Applying too much sealer at once
- Missing spots or stepping on wet sealer
- Rushing through the process
Applying Multiple Coats
Apply multiple thin coats instead of one thick layer for the best results. Allow the first coat to dry completely (check product instructions) before applying the next. This ensures maximum durability and a flawless finish.
Drying and Curing
Drying and curing times vary depending on the sealer and weather conditions. Here’s a general guideline:
- Wait 24-48 hours before walking on the floor.
- Avoid placing heavy items or driving on the floor for at least 7 days.
Post-Sealing Maintenance and Care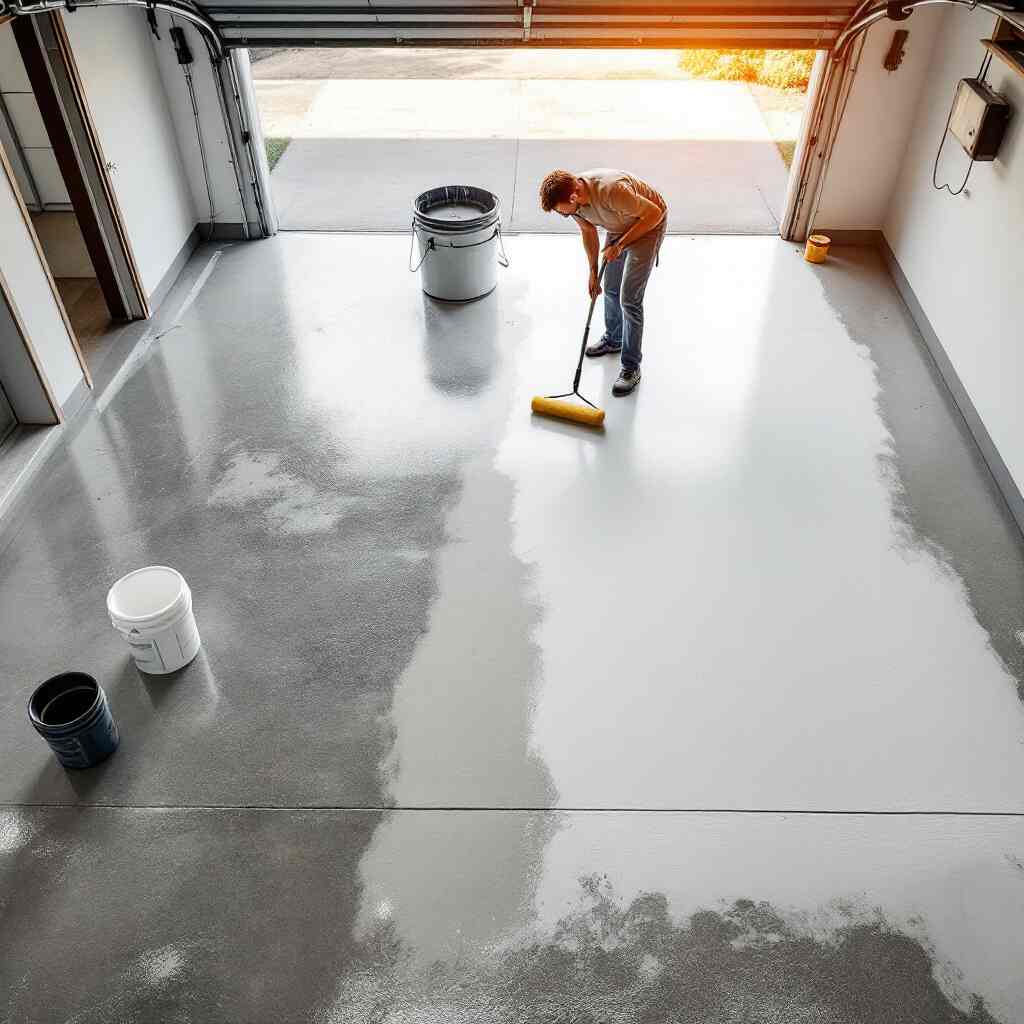
Cleaning Tips
- Use a mild cleaner and avoid harsh chemicals.
- Mop regularly to keep the surface looking fresh.
Resealing Frequency
Reseal your garage floor every 2-3 years for optimal protection.
Frequently Asked Questions (FAQs)
Can I seal my garage floor myself or hire a professional?
Yes, you can! Following this guide will help you achieve professional results.
How long does it take to seal a garage floor at home?
The entire process, including drying time, takes about 2-3 days.
What is the best sealer for humid climates?
Epoxy or polyurethane sealers work well in humid conditions due to their moisture resistance.
Cost and Time Estimates
ExpenseDIY Cost (Approx.)
Tools and Materials $100–$200
Professional Services $500–$1,000
DIY sealing saves money but requires time and effort.
Conclusion
Sealing your garage floor at home doesn’t have to be daunting. This step-by-step guide will protect your floor, enhance its appearance, and boost your property value. Ready to get started? Share your experience, or reach out if you have questions!
You may also read (category garage)