
Your garage floor is one of the most hardworking surfaces in your home. It endures constant wear and tear from vehicles, foot traffic, spills, and exposure to the elements. Over time, this can lead to cracking, staining, and a dull appearance. But here’s the good news: sealing your concrete garage floor can solve many of these problems and significantly extend its lifespan.
Sealing a garage floor offers numerous benefits. It protects against stains, water damage, and abrasion while also enhancing durability. Not only does it keep your garage floor looking clean and polished, but it also prevents issues like mould, mildew, and chemical damage. If you’ve ever wondered how to seal a concrete home garage floor, this guide is here to walk you through every step of the process.
Why Seal Your Concrete Garage Floor?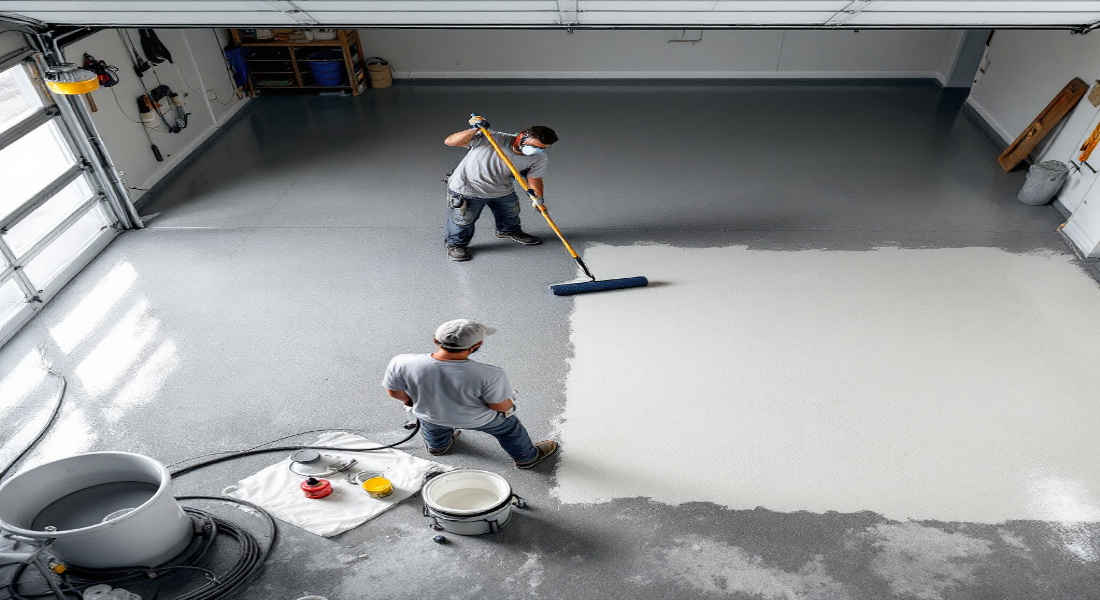
Sealing your garage floor is more than just a cosmetic improvement. It’s a protective measure that enhances the longevity of your concrete while keeping it functional and visually appealing. Let’s explore the reasons why sealing is so important.
Protection Against Damage
Concrete is porous, which means it can absorb water, oils, and chemicals. Over time, this can lead to cracks, stains, and structural weakening. A quality sealer acts as a barrier, preventing these substances from penetrating the concrete surface.
Enhanced Durability
Sealing strengthens the surface of your garage floor, making it more resistant to abrasion from vehicle tyres, heavy equipment, and everyday use. This added durability can significantly extend the life of your concrete.
Prevents Mold and Mildew
When moisture seeps into unsealed concrete, it creates a breeding ground for mould and mildew. This not only damages the floor but can also pose health risks to you and your family. Sealing eliminates this concern by keeping moisture out.
Improved Aesthetics
A sealed garage floor looks cleaner, shinier, and well-maintained. It enhances the overall appearance of your garage, making it a more pleasant and usable space.
Types of Sealers for Specific Needs
Different sealers offer unique benefits. For example, some provide a glossy finish for a polished look, while others maintain a more natural appearance. We’ll dive deeper into these options in the next section.
By sealing your concrete garage floor, you’re investing in both its longevity and usability. It’s a small effort that yields significant long-term benefits.
Understanding Different Types of Garage Floor Sealers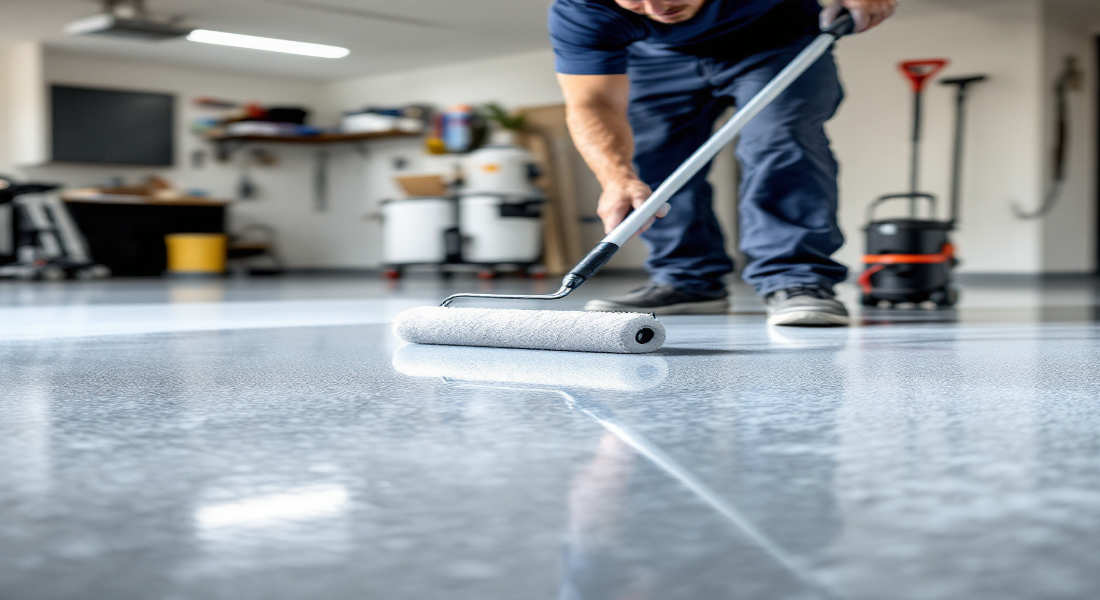
When it comes to sealing your garage floor, choosing the right type of sealer is crucial. The two primary categories of sealers are film-forming sealers and penetrating sealers. Let’s break down their features, benefits, and drawbacks to help you make an informed decision.
You may also read (leaking garage roof made easy).
Film-Forming Sealers
Film-forming sealers create a protective layer on the surface of the concrete. These include acrylic, epoxy, polyurethane, and polyaspartic sealers.
- Acrylic Sealers: Affordable and easy to apply, acrylic sealers provide a glossy, wet-look finish. However, they may require reapplication more frequently.
- Epoxy Sealers: Known for their durability, epoxy sealers offer superior protection against chemicals and abrasion. They’re ideal for high-traffic garages but require meticulous surface preparation.
- Polyurethane Sealers: These are tougher than acrylic but more flexible than epoxy. They provide long-lasting protection and are resistant to UV rays.
- Polyaspartic Sealers: A newer option, polyaspartic sealers are fast-curing and highly durable, making them a premium choice for homeowners.
Pros: Glossy finish, easy to clean, excellent surface protection.
Cons: It can be slippery when wet and requires thorough surface prep.
Penetrating Sealers
Penetrating sealers, such as silane, siloxane, and silicate-based formulas, work by soaking into the concrete and creating a chemical barrier.
- Silane and Siloxane Sealers: These repel water and chemicals while maintaining the natural look of your concrete.
- Silicate Sealers: Often used for densification, silicate sealers strengthen the concrete from within and reduce dusting.
Pros: Invisible protection, ideal for preserving the natural concrete appearance, long-lasting.
Cons: Less effective against surface stains, no glossy finish.
Which Sealer Should You Choose?
The choice depends on your needs. If you want a glossy, easy-to-clean surface, go for a film-forming sealer. If you prefer subtle, invisible protection, opt for a penetrating sealer. Consider factors like your garage’s exposure to moisture, chemicals, and traffic when making your decision.
Preparing Your Concrete Garage Floor for Sealing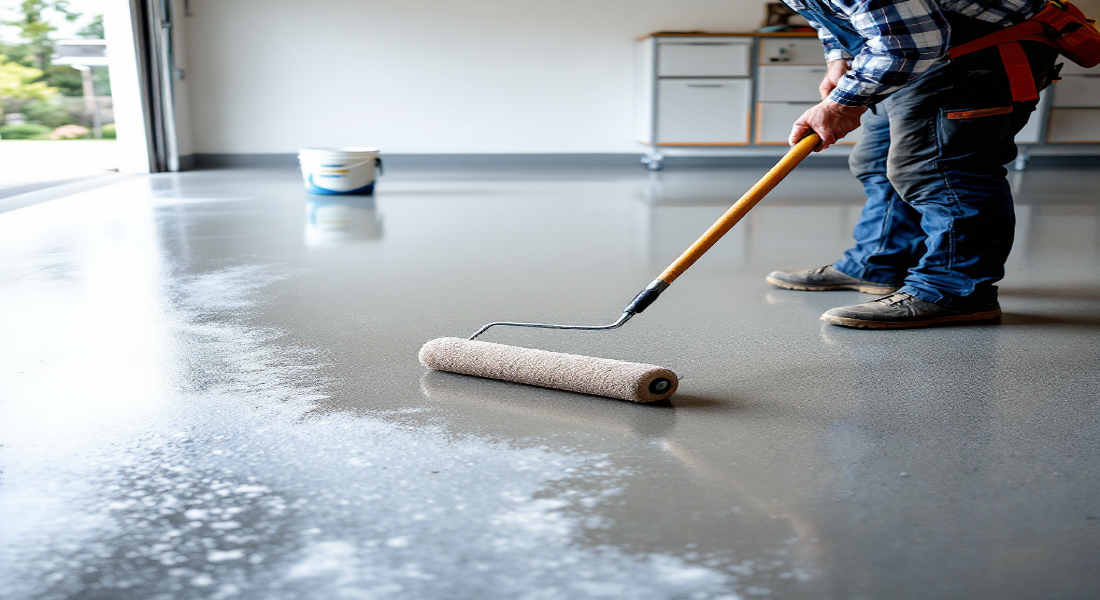
Preparation is key to successfully sealing your garage floor. Skipping steps or rushing through this process can lead to poor adhesion and an uneven finish. Follow this comprehensive step-by-step guide to ensure your floor is ready for sealing.
You may also read (home value the garage advantage).
Clear the Garage
Remove all items, furniture, and vehicles from the garage. Sweep the floor thoroughly to remove loose dirt and debris.
Clean the Surface
- Use a degreaser to tackle oil and grease spots. Apply it to the affected areas and scrub with a stiff brush.
- For stubborn stains, a wire brush or specialized concrete cleaner may be necessary.
Rinse and Dry
Rinse the floor with clean water to remove any cleaning residues. Ensure the floor is completely dry before proceeding. Moisture in the concrete can prevent the sealer from bonding properly.
Repair Cracks and Holes
Inspect the floor for cracks or holes. Use a concrete filler to patch these imperfections. Allow the filler to cure as per the manufacturer’s instructions.
Optional Acid Etching or Sanding
For better adhesion, consider acid etching or sanding the surface to open up the concrete pores. This step is especially important for smooth or previously sealed floors.
Final Inspection
Ensure the floor is clean, dry, and free of debris. Follow the sealer manufacturer’s guidelines regarding surface preparation for the best results.
Proper preparation might take time, but it’s essential for achieving a durable and professional-looking finish.
How to Seal a Concrete Home Garage Floor: Step-by-Step Application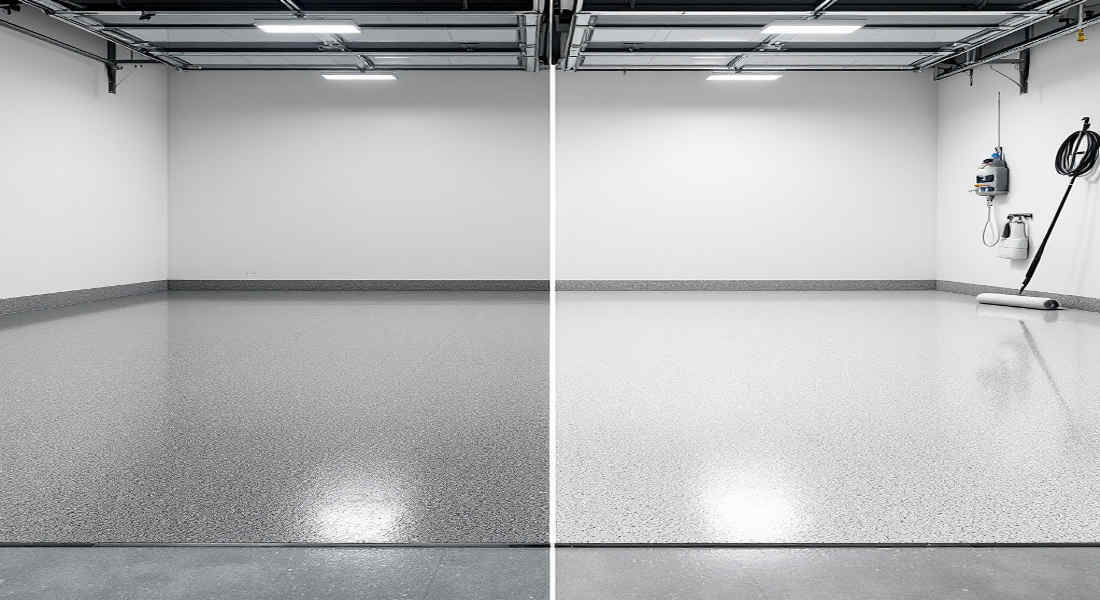
Now that your floor is prepped, it’s time to apply the sealer. Follow these steps carefully for a flawless application:
Strip Existing Sealer (if applicable)
If your garage floor has been sealed before, use a chemical stripper to remove the old sealer. This ensures the new coat adheres properly.
Apply Etching Solution (if needed)
If you haven’t etched the floor earlier, now’s the time. Follow the manufacturer’s instructions for the etching solution and rinse thoroughly.
Choose an Application Method
- Roller: Ideal for larger areas, providing even coverage.
- Sprayer: Great for penetrating sealers or thin coats.
- Brush: Perfect for edges and hard-to-reach areas.
Apply the First Coat
Pour the sealer into a paint tray or sprayer. Apply a thin, even coat using your chosen method. Work in small sections to avoid overlaps.
Allow to Dry
Let the first coat dry completely. Check the manufacturer’s instructions for drying times, as they vary by product type.
Apply the Second Coat
Apply a second coat perpendicular to the first for even coverage. This ensures no spots are missed.
Curing Process
Allow the sealer to cure fully before walking or driving on the floor. This can take anywhere from 24 hours to a few days, depending on the product.
Safety Tips
- Ensure proper ventilation during application.
- Wear protective gear like gloves, goggles, and a mask.
- Avoid applying sealer in extreme temperatures or humidity.
Common Mistakes to Avoid When Sealing Your Garage Floor
Even small mistakes can compromise the quality of your sealing project. Avoid these common pitfalls:
- Applying sealer on damp concrete.
- Skipping crucial preparation steps.
- Using the wrong type of sealer for your needs.
- Ignoring manufacturer’s instructions.
- Overapplying or applying uneven coats.
- Neglecting safety precautions.
You may also read (dream home garage).