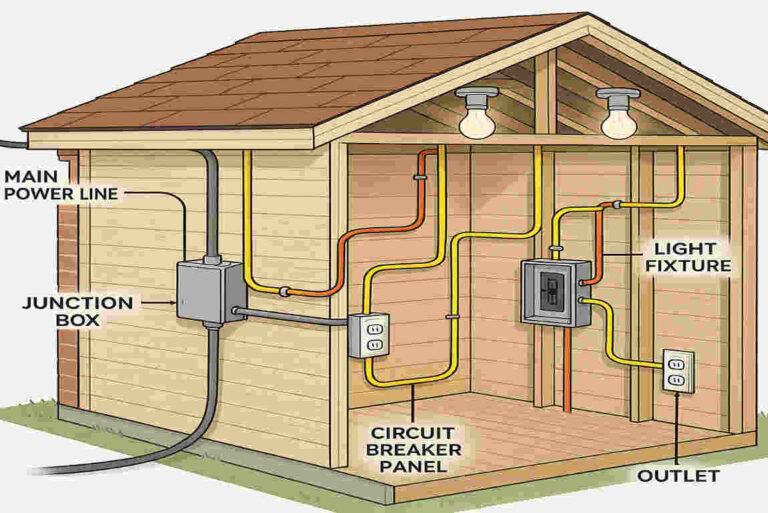
Wiring a home garden shed can transform it from a simple storage space into a fully functional workshop, hobby room, or even a cosy retreat. Whether you’re powering up tools, installing proper lighting, or adding climate control, having electricity in your shed opens up countless possibilities. However, wiring a shed isn’t just about running an extension cord from your home; it’s a serious project that requires careful planning, adherence to safety standards, and attention to local electrical codes.
Why Wire a Home Garden Shed?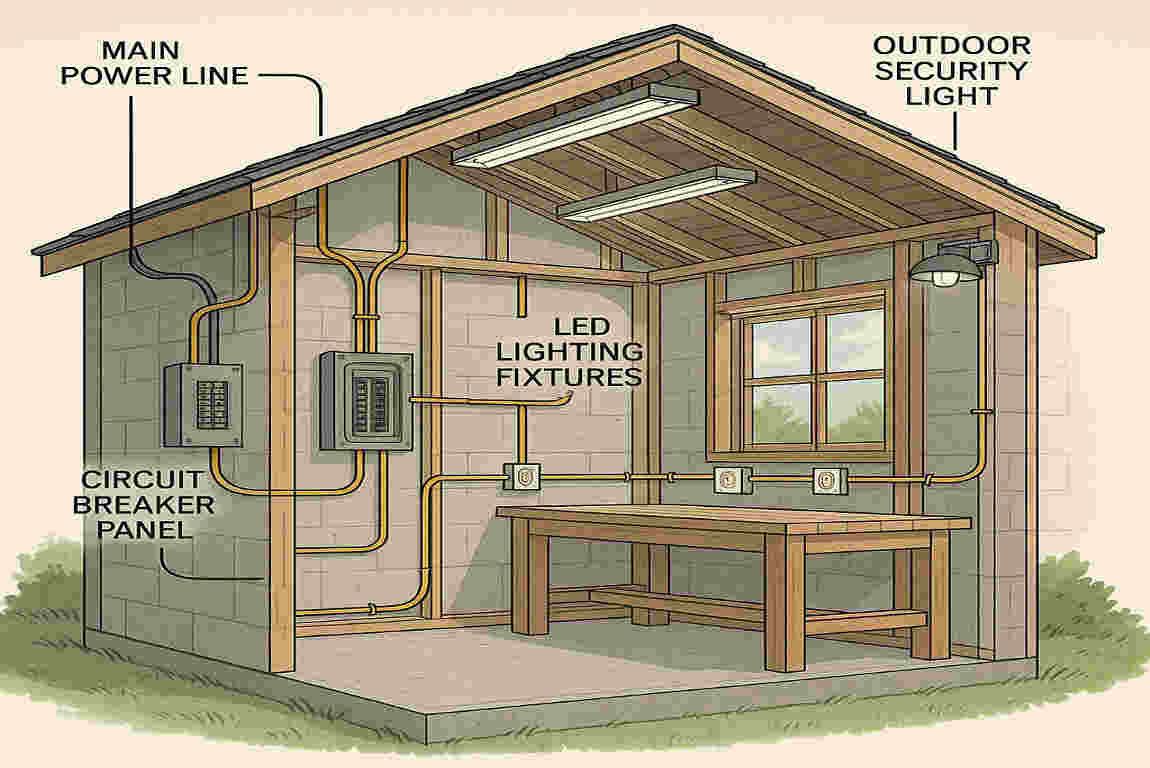
A wired shed is more than just convenient—it’s transformative.
- Versatility: With electricity, your shed can become a fully functional workspace for hobbies, DIY projects, or even a home office.
- Comfort: Add heating, cooling, or proper lighting to make the space usable year-round.
- Storage Benefits: Install lights to make finding tools and supplies easier, even at night.
- Property Value: A wired shed adds value to your property, making it a worthwhile investment.
But before diving in, remember that safety and compliance with local codes are crucial. Now, let’s move on to planning your shed’s electrical layout.
Planning Your Shed Electrical Wiring Project
Proper planning is the foundation of any successful wiring project. Before you start digging trenches or buying materials, take the time to map out your needs and resources.
You may also read (mastering home radiator maintenance flush with a garden hose).
Assess Your Power Needs
Start by asking yourself:
- What do I need power for? Common needs include lighting, outlets for power tools, heating and cooling systems, or charging stations.
- How much power do I need? Determine whether you’ll need a single 15-amp circuit or multiple circuits for heavier loads, such as heaters or saws.
Determine the Power Source
- Will you connect your shed to your main house electrical panel, or will it require a separate power source?
- If you’re connecting to the main panel, ensure it has enough capacity to handle the additional load.
- For larger setups or off-grid sheds, consider installing a dedicated sub-panel.
Understand Local Electrical Codes
Every location has its own electrical regulations. Here’s what you need to do:
- Research your local requirements for permits and inspections.
- Follow guidelines for trench depth (typically 18–24 inches for buried conduit).
- Use Ground Fault Circuit Interrupters (GFCIs) in outdoor and shed environments.
DIY vs. Hiring a Professional
If you’re confident in your skills and understand electrical work, this can be a rewarding DIY project. However, for complex installations or if you’re unsure, it’s best to hire a licensed electrician.
Gather Materials and Tools
Here’s a basic checklist to get you started:
Materials:
- Electrical conduit (PVC, liquid-tight, or armoured cable)
- Wires (e.g., 12-2 wires for lighting/outlets)
- Junction boxes
- Circuit breakers
- GFCI outlets
Tools:
- Fish tape
- Conduit bender
- Wire strippers
- Drill and bits
- Voltage tester
Choosing the Right Wiring Materials
Using the right materials ensures your shed wiring is safe, durable, and compliant with regulations. Let’s explore the key components you’ll need.
Types of Conduit
Conduit protects your wires and ensures safety. Here are the most common types:
- Liquidtight Conduit: Ideal for outdoor use, offering flexibility and weather resistance.
- PVC Conduit: A budget-friendly option for underground wiring, but it requires proper sealing.
- Armoured Cable (SWA): Provides additional protection and is often used for underground applications.
You may also read (understanding the costs of rewiring your 3 bedroom home).
Wire Types
For outdoor and underground wiring, choose wires designed for durability:
- 12-2 Wire: Perfect for standard lighting and outlets.
- Unsheathed Wires: Suitable for conduit systems.
Color Coding and Grounding
- Black: Hotwire (carries power).
- White: Neutral wire (returns power).
- Green/Bare Copper: Grounding wire (prevents electrical hazards).
Weatherproofing Components
- Use weatherproof fittings and connectors to prevent moisture damage.
- Install GFCI outlets to protect against electrical shocks in damp environments.
Step-by-Step Guide to Wiring a Home Garden Shed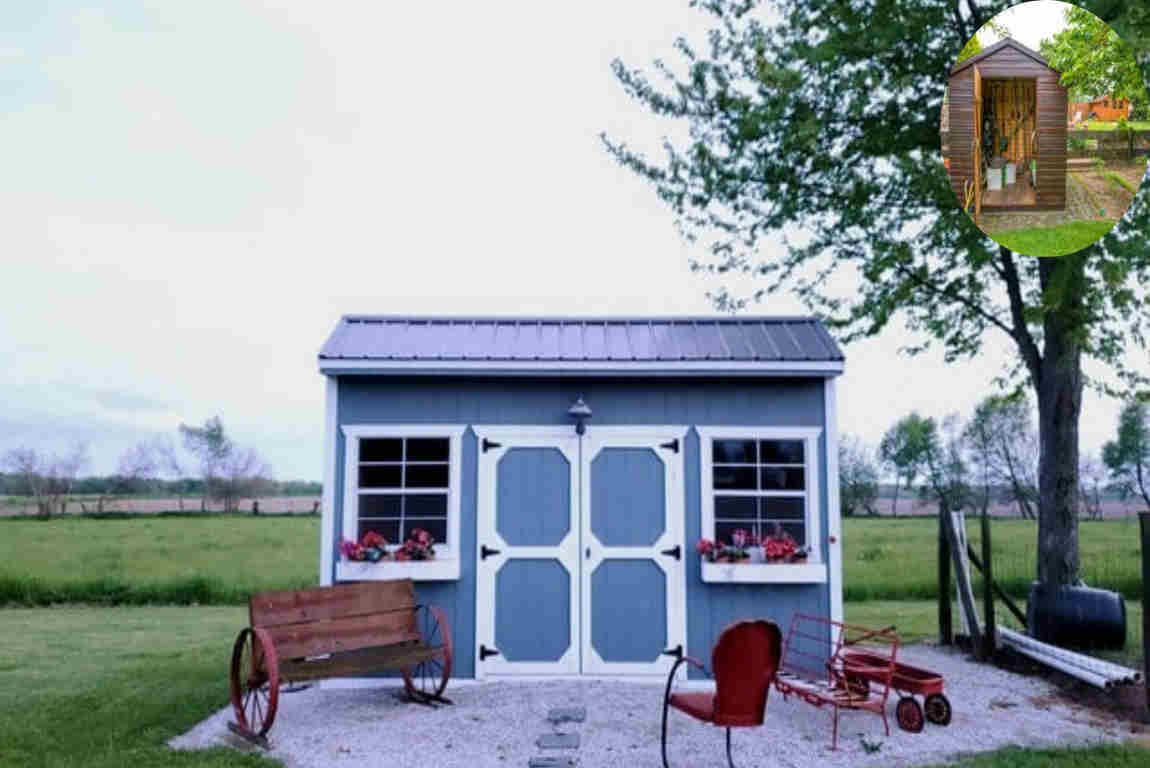
Now that you’ve planned and gathered your materials, it’s time to start wiring your shed. Follow these steps carefully to ensure a safe and efficient installation.
Install Conduit from House to Shed
- Plan the Route: Mark the path where you’ll run the conduit from your house to the shed.
- Dig the Trench: Dig a trench at the required depth (usually 18–24 inches).
- Lay the Conduit: Use PVC or liquid-tight conduit and ensure it’s properly sealed.
- Pull the Wires: Use fish tape to guide the wires through the conduit.
Wiring Inside the Shed
- Install Junction Boxes and Panels:
- Attach junction boxes where you’ll install outlets and switches.
- If needed, install a sub-panel for added circuits.
- Run Wires to Fixtures:
- Drill holes through walls and rafters to run wires.
- Secure wires with cable staples and use nail plates to protect them.
- Connect Outlets and Switches:
- Connect wires to outlets, switches, and light fixtures following the manufacturer’s instructions.
Connect to the Main Power Source
- Turn Off Power: Always turn off the main power at the breaker box before working.
- Connect Wires to the Panel: Connect the wires to the main breaker or sub-panel.
- Install Circuit Breakers: Add a dedicated circuit breaker for the shed.
Testing and Safety Checks
- Inspect Connections: Ensure all connections are secure and properly insulated.
- Test with a Voltage Tester: Confirm that outlets and lights are receiving power.
- Check Grounding and GFCI Protection: Verify that grounding and GFCI outlets are functioning correctly.
- Final Inspection: Have your work inspected to ensure compliance with local codes.
Safety Tips and Electrical Code Compliance
Safety should always be your top priority when working with electricity. Here are some essential tips:
- Follow Local Codes: Research and adhere to local electrical regulations.
- Install GFCI Outlets: These outlets are mandatory in outdoor and damp environments.
- Proper Grounding: Ensure all components are properly grounded to prevent electrical hazards.
- Know When to Call a Professional: For complex wiring or if you’re unsure, hire a licensed electrician.
Additional Considerations and Upgrades
Once your shed is wired, you can enhance it with additional features:
Upgrade Option Benefits
Solar Power Systems Eco-friendly and ideal for off-grid sheds.
Smart Switches Convenient control of lighting and appliances.
Weatherproof Outlets Protect against moisture and tampering.
Future Expansion: Add capacity for more circuits and devices.
You may also read (how can i secure my house garden).

