Building your own garage is not just a practical endeavor; it’s a project that can save you money, increase your property’s value, and give you the satisfaction of creating something functional with your own hands. Whether you need extra space for your vehicles, a workshop, or additional storage, constructing a garage yourself can be a rewarding experience.
Why Build Your Own Garage?
Benefits of Building a DIY Garage
- Cost Savings: Hiring contractors can be expensive. By doing it yourself, you can significantly reduce labor costs.
- Customization: You can design the garage to suit your specific needs—whether it’s for extra storage, a workshop, or parking multiple vehicles.
- Property Value: A well-built garage can increase your home’s resale value and curb appeal.
- Satisfaction: There’s no greater reward than completing a project and knowing you did it yourself.
This guide will teach you everything you need to know about how to build your own garage, including planning, materials, tools, and step-by-step instructions.
Planning Your Garage Build
Proper planning is the Foundation of any successful construction project. Before you even pick up a hammer, you’ll need to think through several important factors.
Yu may also read (home value the garage advantage).
Assessing Your Property
Start by evaluating the available space on your property. Ask yourself:
- How much room do you have for a garage?
- Will it be attached to your house or a standalone structure?
- What size will suit your needs (single-car, double-car, or larger)?
Local Zoning Laws and Permits
Check with your local government or municipality to understand building regulations. You may need:
- Zoning permits
- Approvals for setbacks (the distance between the structure and property lines)
- Inspection approvals during and after construction
Failing to comply with these laws can lead to fines or even the demolition of your garage.
Garage Type and Design
Decide on the type of garage that works best for you:
- Attached Garage: Convenient access to your home, but may require structural modifications.
- Detached Garage: Offers flexibility in location but may be less convenient in bad weather.
You’ll also need to decide on the size:
- A standard single-car garage is around 12 x 20 feet.
- A double-car garage typically measures 20 x 24 feet or larger.
Budgeting for Your Project
Create a detailed budget that includes:
- Materials (lumber, concrete, roofing, siding, etc.)
- Tools (saws, hammers, drills)
- Permits and inspection fees
- Optional: Professional help for electrical or Plumbing work
Blueprint and Design Plan
Sketch out a detailed blueprint of your garage. This should include:
- Dimensions
- Placement of doors, windows, and electrical outlets
- Roofing design
- Foundation specifications
Remember, a clear plan will save you time and prevent costly mistakes down the road.
Preparing the Site and Laying the Foundation
Once you’ve completed the planning phase, it’s time to prepare the site and create a stable foundation for your garage.
You may also read (are house prices really falling in wales).
Clearing and Excavating the Site
Start by clearing the area of any debris, trees, or obstacles. Use excavation equipment to level the ground and ensure the site is stable.
Types of Foundations
The Foundation is crucial for the longevity of your garage. Common options include:
- Concrete Slab: A solid and durable choice for most garages.
- Footings: Ideal for areas with freezing temperatures to prevent shifting.
- Gravel Base: A budget-friendly option but less durable.
Pouring a Concrete Slab Foundation: Step-by-Step
- Create the Frame: Build a wooden frame to outline the Foundation.
- Lay a Base Layer: Fill the area with gravel and compact it.
- Pour the Concrete: Mix and pour concrete evenly within the frame.
- Level the Surface: Use a screed board to level the concrete.
- Cure the Concrete: Allow the concrete to cure for at least 48-72 hours.
Tools and Materials Needed
- Shovels
- Gravel
- Wooden stakes and boards
- Concrete mixer
- Screed board
By taking your time with the Foundation, you’ll ensure that your garage has a solid base for years to come.
Framing Your Garage Walls
Wall framing is one of the most exciting steps in the process because it’s when your garage starts to take shape.
Choosing the Right Materials
Lumber is your primary material here. The most common options are:
- 2×4 Lumber: Standard for most garages.
- 2×6 Lumber: Offers additional strength and insulation capacity.
Preparing Wall Plates
Cut your top and bottom plates (horizontal boards) to the length of your walls. Mark where the studs, doorways, and windows will go.
Assembling Wall Frames
- Nail the studs vertically to the wall plates, spaced 16 inches apart.
- Add headers above doors and windows for structural support.
- Use a square to ensure the frame is perfectly aligned.
Securing Walls to the Foundation
Stand each wall frame and secure it to the Foundation using anchor bolts. This ensures the walls are stable and won’t shift over time.
Adding Sheathing
Sheathing (plywood or OSB) is nailed to the exterior of the wall frames. This step adds structural strength and prepares the walls for siding.
Building and Installing the Garage Roof
The roof is essential for protecting your garage from the elements. Here’s how to construct it step-by-step.
Roof Style Options
- Flat Roof: Easier to build but less effective for shedding rain/snow.
- Pitched Roof: Ideal for weather resistance but requires more materials and labor.
Materials Needed
You’ll need rafters, decking (plywood), roofing felt, and shingles or tiles.
Step-by-Step Roof Framing
- Install wall plates to support the rafters.
- Cut and position rafters at equal intervals.
- Nail decking (plywood) over the rafters.
- Add roofing felt for waterproofing.
- Install shingles or tiles for the final finish.
Safety Tips
- Always use safety harnesses when working at heights.
- Don’t attempt roof installation alone—get help for lifting heavy materials.
Installing Doors, Windows, and Exterior Finishes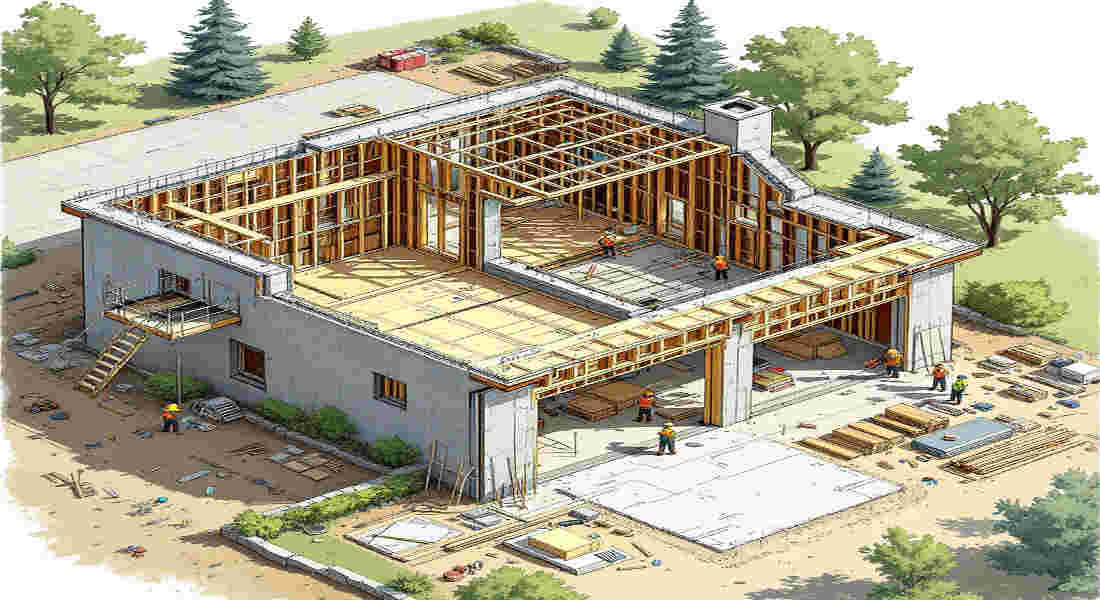
This is where your garage starts to look complete. Focus on both functionality and aesthetics.
Choosing Garage Doors
- Manual Doors: Affordable but less convenient.
- Automatic Doors: These are more expensive but offer ease of use.
- Look for insulated options to improve energy efficiency.
Framing and Installing Windows
Windows add natural light and ventilation. Ensure they are weatherproofed to prevent leaks.
Exterior Siding Options
- Vinyl: Affordable and low maintenance.
- Wood: Offers a classic look but requires regular upkeep.
- Metal: Durable and weather-resistant.
Painting and Weatherproofing
Choose a weather-resistant paint to protect your garage from the elements. Add caulking around windows and doors to seal any gaps.
Electrical and Plumbing Considerations
If you plan to use your garage as a workshop or living space, you’ll need to consider utilities.
Electrical Wiring
Plan for:
- Lighting fixtures
- Electrical outlets
- Garage door opener connections: Hire a licensed electrician to ensure compliance with safety codes.
Optional Plumbing
Add Plumbing if you want features like:
- A sink for cleaning tools
- A floor drain for easy maintenance
- Water lines for future upgrades
Final Steps and Inspection
Cleaning Up
Remove construction debris and organize your tools.
Inspection and Permits
Schedule a final inspection to ensure your garage meets all local regulations.
Adding Storage and Organization
Install shelves, hooks, or cabinets to maximize storage space.
Cost Breakdown and Time Estimates
ExpenseEstimated Cost
- Foundation $2,000 – $5,000
- Framing and Lumber $3,000 – $7,000
- Roofing Materials $1,500 – $3,000
- Doors and Windows $1,000 – $3,000
- Electrical/Plumbing $1,000 – $5,000
You may also read (reset hormann home garage).