
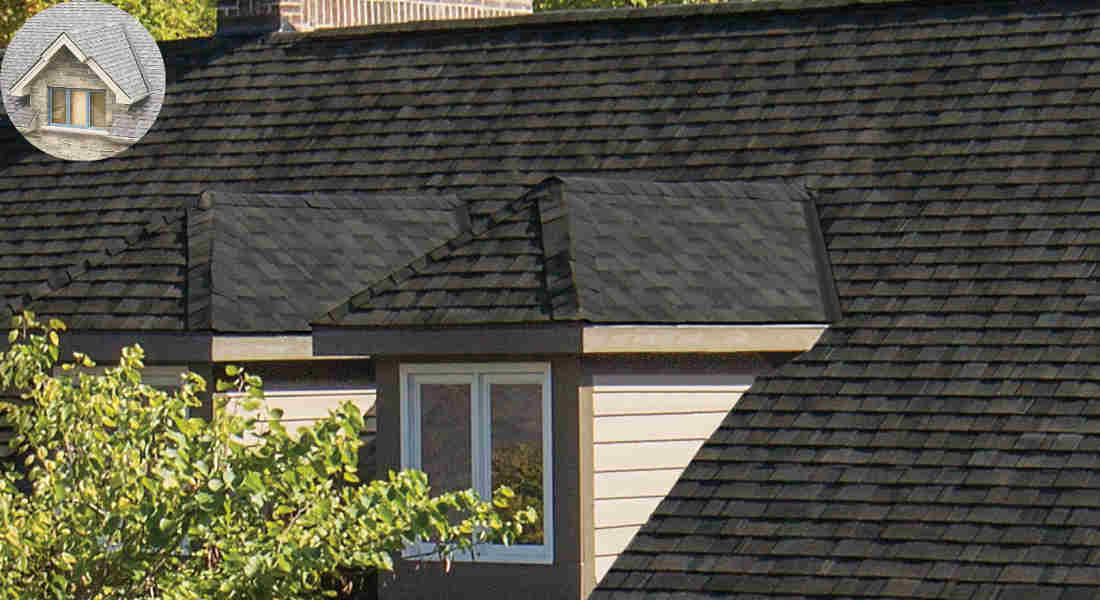
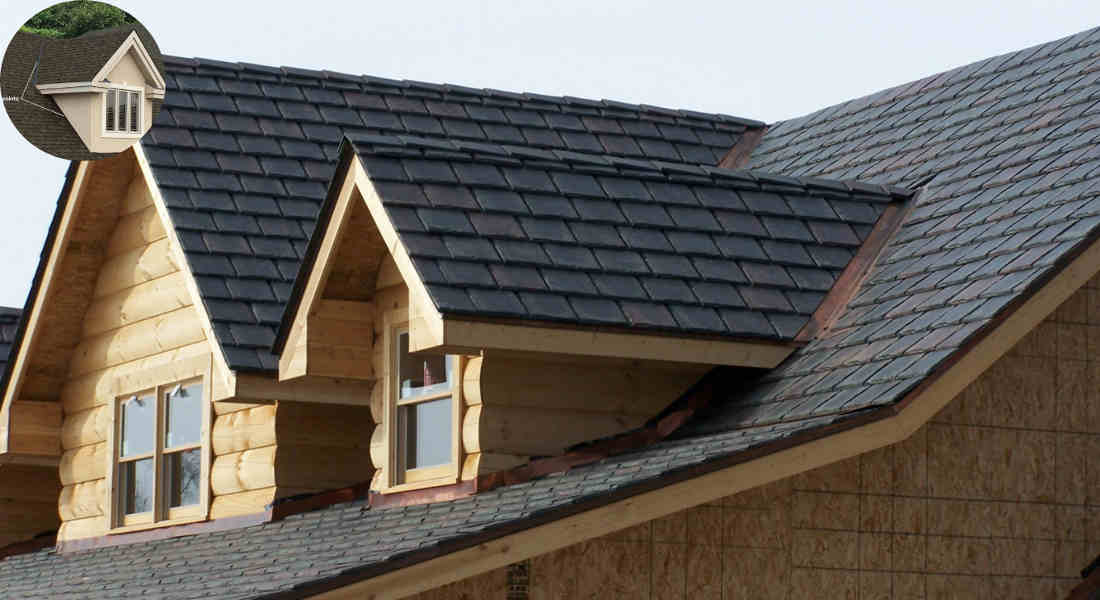
When it comes to roofing, hip roofs are often considered among the most elegant and structurally sound designs. They feature sloping sides that meet at the top, creating a peak that not only enhances the aesthetic appeal but also provides excellent stability. However, adding dormers—those charming extensions that protrude from the roof—introduces additional complexity.
To achieve a successful shingle installation on a hip house roof with four dormers, having the right tools is essential.
Understanding the Challenge: Shingling a Hip House Roof with 4 Dormers
What is a Hip Roof?
A hip roof is characterized by its sloping sides that extend to meet at a ridge. Unlike gable roofs, which have vertical sides, hip roofs provide a more aerodynamic shape that can withstand strong winds.
The Complexity of Dormers
Dormers are structures that project from the roof’s slope. While they add character and additional space to the house, they also complicate the roofing process. The angles and edges created by dormers require precise measurements and cuts.
Precision and Tools
When installing shingles around dormers, precision is crucial. Using the right tools allows you to cut and fit shingles accurately, ensuring that water seals effectively around these projections. Common issues when shingling hip roofs with dormers include:
- Angles: Aligning shingles accurately at various angles.
- Water Sealing: Ensuring that water does not penetrate around the dormers.
Roofing Hammer or Pneumatic Nail Gun
Securing Shingles
The first tool on our list is the roofing hammer or pneumatic nail gun. These tools are vital for securing shingles firmly to the roof deck.
Benefits of a Pneumatic Nail Gun
Using a pneumatic nail gun can significantly reduce installation time. It offers speed and consistent nailing depth, which is crucial for the longevity of the shingles.
You may also read (understanding roof insurance for homes over 20 years old).
Choosing the Right Tool
When selecting a tool, consider your skill level and the project size. For beginners, a roofing hammer may be more manageable, while professionals often prefer a nail gun due to the efficiency it provides.
Safety Tips
When using these tools, prioritize safety above all else. Here are a few tips:
- Use protective eyewear to shield your eyes from flying debris.
- Ensure your footing is secure on the roof to avoid accidents.
Utility Knife with Sharp Blades

Importance of Precise Cutting
A utility knife is an essential tool when fitting shingles around hips and dormers. Accurate cuts are crucial to match the angles and edges of the roof.
Benefits of a Sharp Utility Knife
A sharp utility knife not only makes cleaner cuts but also reduces the risk of tearing shingles, which can lead to water penetration.
Recommendations
Opt for a utility knife with replaceable blades. This ensures that you always have a sharp edge for precise cutting.
Cutting Techniques
- Cutting Shingles: Align the knife with the edge of the shingle and apply consistent pressure to make a clean cut.
- Fitting Around Dormers: Measure carefully and cut accordingly to ensure a snug fit around dormer edges.
Chalk Line and Measuring Tape

Creating Straight Lines
A chalk line is indispensable for creating straight, level lines that guide shingle alignment.
Role of Measuring Tape
The measuring tape is crucial for ensuring accuracy in shingle placement, especially near dormers.
Step-by-Step Marking Guidelines
- Use the Measuring Tape: Measure the distance from the eaves to the ridge.
- Snap the Chalk Line: Stretch the chalk line from the marked points to create a visible guideline.
These tools help achieve a professional-looking finish by ensuring that all shingles are aligned correctly.
Pry Bar or Roofing Shovel
Preparing the Roof Deck
A pry bar or roofing shovel is essential for removing old shingles and preparing the roof deck. A clean surface is crucial for effective shingle installation.
Safe and Effective Use
To use a pry bar effectively:
- Insert the Bar Under Shingles: Leverage it gently to lift and remove old materials.
- Avoid Damage: Be cautious not to damage the underlying roof deck during removal.
Additional Uses
These tools are not only for removal but can also help adjust shingles and remove nails during installation.
Ladder and Safety Gear (Harness, Gloves, Safety Glasses)
Accessing Roof Areas Safely
A sturdy ladder is essential for accessing all areas of the roof safely, especially around dormers.
Overview of Safety Gear
Safety gear is paramount when working on a roof. Essential items include:
- Harness: To prevent falls.
- Gloves: To protect your hands while handling tools.
- Safety Glasses: To shield your eyes from debris.
You may also read (is it possible to add a garage to my house).
Tips for Ladder Placement
- Secure the Base: Ensure the Ladder is on stable ground.
- Angle the Ladder Properly: A 75-degree angle is ideal for stability.
Bonus Tips for Shingling a Hip House Roof with 4 Dormers
Planning the Shingle Layout
Consider the layout of shingles around dormers for both water resistance and aesthetics.
Using Hip and Ridge Shingles
Finish the roofing job with hip and ridge shingles to provide a polished look.
Weather Considerations
Always check the weather before starting your roofing project. Timing your work during dry conditions will yield the best results.
Handling Tricky Angles
When dealing with tricky angles around dormers, take your time and make careful measurements.
Step-by-Step Summary: How to Shingle a Hip House Roof with 4 Dormers
Recap of the Process
To shingle a hip house roof with 4 dormers, follow these steps:
- Prepare the Roof: Use a pry bar to remove old shingles.
- Measure and Mark: Use your measuring tape and chalk line for guidelines.
- Cut Shingles: Utilize your utility knife to make precise cuts.
- Secure Shingles: Use your roofing hammer or nail gun to attach shingles.
- Finish with Ridge Shingles: Complete the roof with hip and ridge shingles.
Tools for Each Stage
| Stage | Essential Tool |
|---|---|
| Preparation | Pry Bar/Roofing Shovel |
| Measuring | Chalk Line, Measuring Tape |
| Cutting | Utility Knife |
| Securing | Roofing Hammer/Pneumatic Nail Gun |
| Finishing | Ridge Shingles |
Encourage both DIYers and professionals to adhere to safety measures throughout the roofing project.
You may also read (unlocking the secrets of house roof framing).