
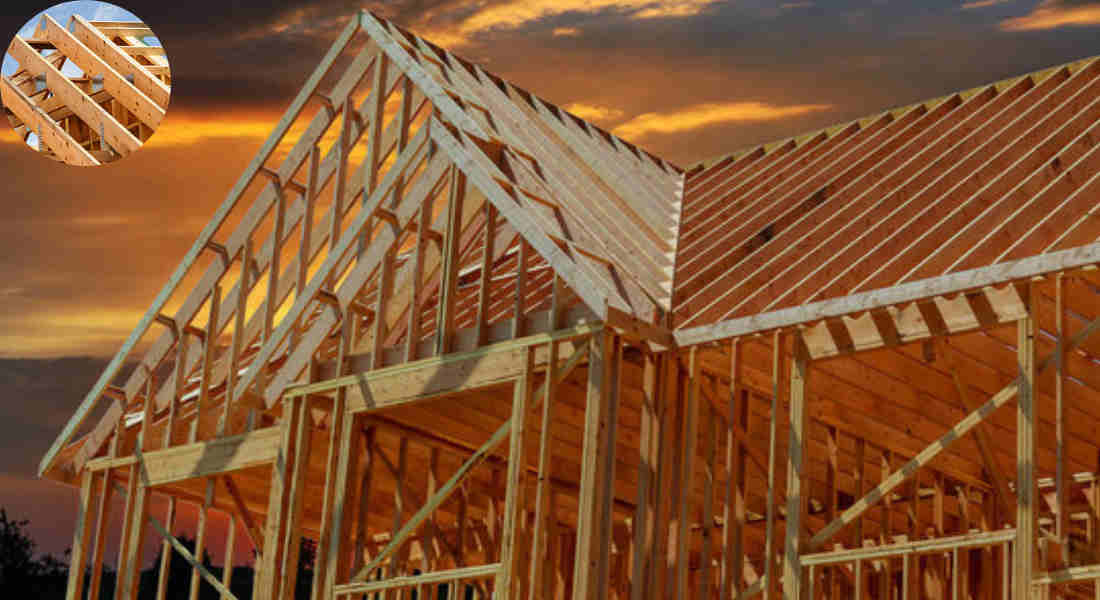
Understanding roof framing is crucial for both homeowners and builders. Whether you’re planning to build a new home or renovate an existing structure, grasping the fundamentals of roof framing can save you time, money, and headaches in the long run. Roof framing is not just about putting up a roof; it plays a significant role in the overall structural integrity and aesthetics of your house.
In essence, roof framing involves assembling various components that support the roof and protect the interior from the elements. This includes the rafters, sheathing, and roofing materials. A well-framed roof not only looks good but also ensures the safety and durability of your home.
What is Roof Framing?
Definition and Purpose
Roof framing refers to the framework that supports the roof of a building. It serves several essential purposes:
- Structural Support: The roof framing provides the necessary support to bear the weight of roofing materials and withstand various environmental factors, such as wind and snow.
- Shape: The roof framing determines the shape of the roof, which in turn influences the overall design and aesthetic appeal of the house.
- Weather Protection: A properly framed roof protects the interior of the house from rain, snow, and other weather conditions.
Key Components
The main components of roof framing include:
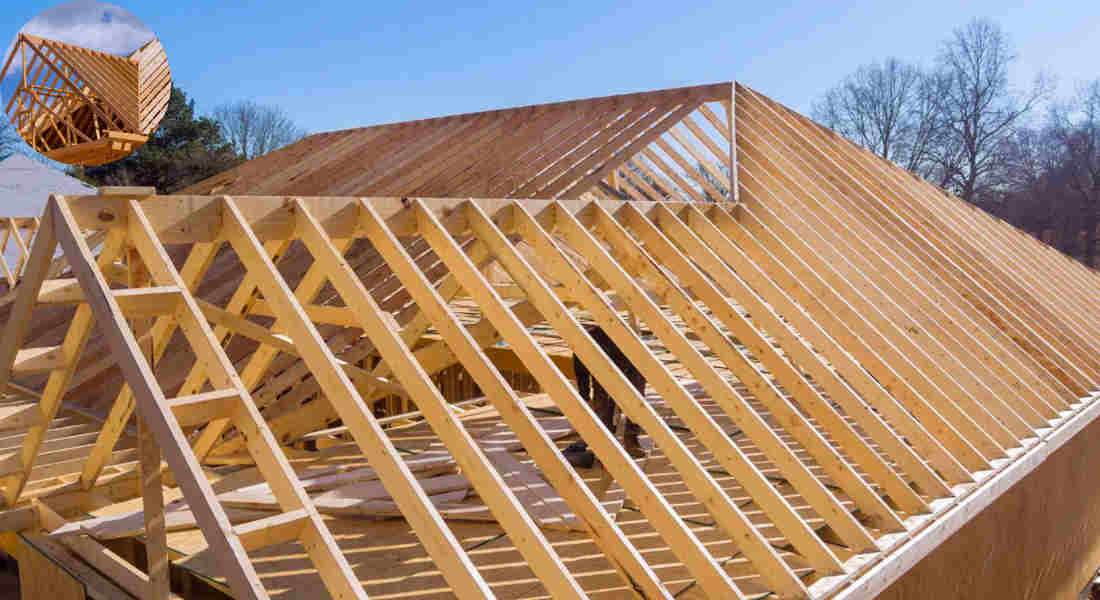
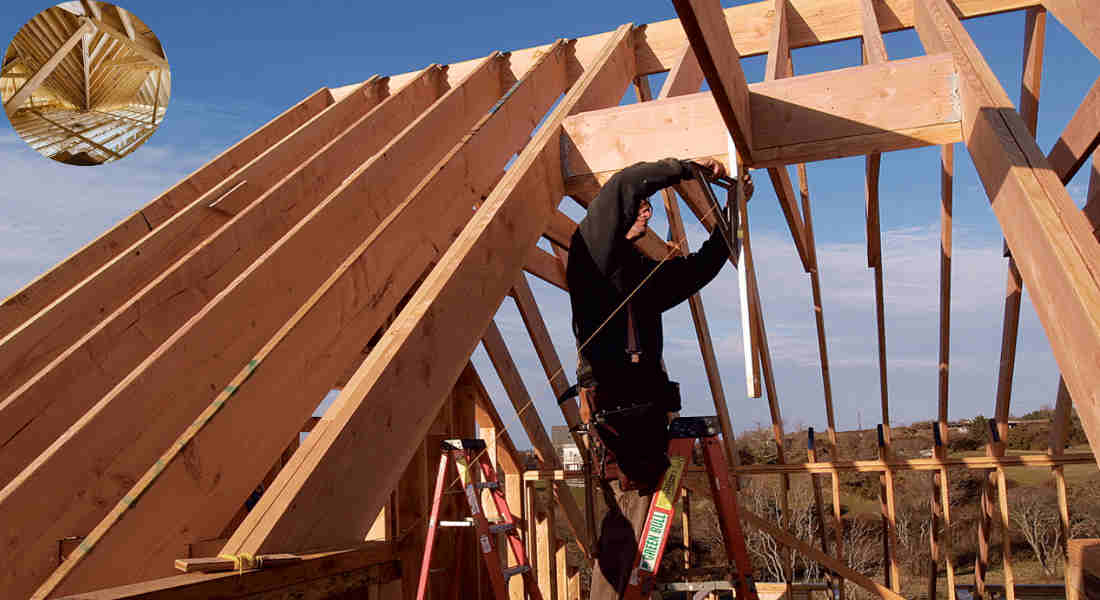
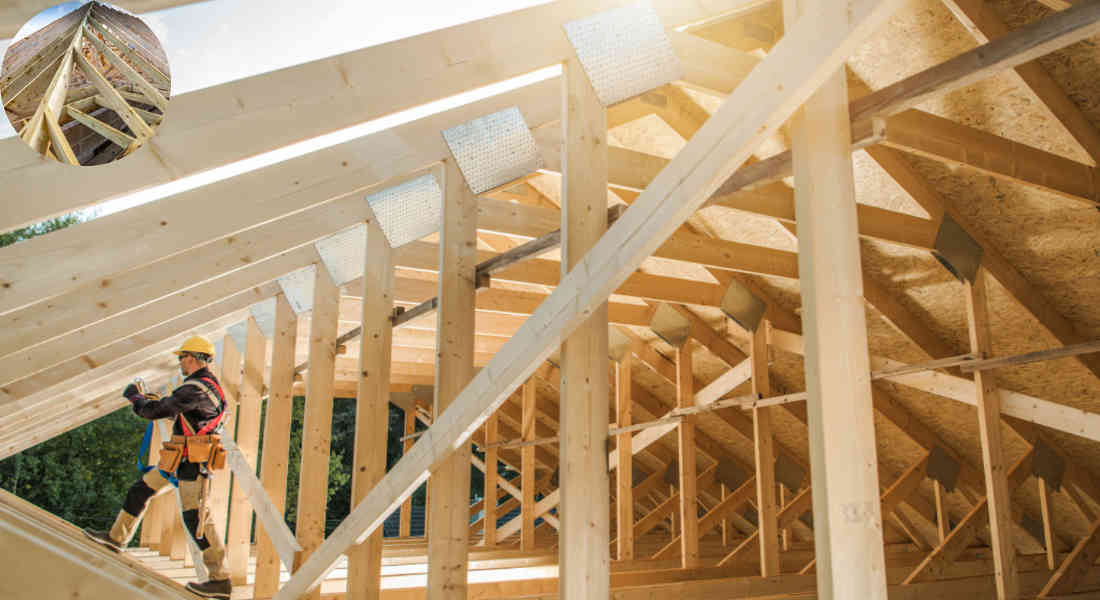
- Rafters: These are the sloping beams that make up the roof structure.
- Rafter Ties: Horizontal beams that help prevent the roof from spreading apart.
- Sheathing: Boards or panels that cover the rafters and provide a surface for roofing materials.
- Roofing Material: The outer layer that protects against weather elements, such as shingles, tiles, or metal sheets.
Understanding these components is vital as they all contribute to the durability and safety of your roof.
Types of Roof Framing Methods
Stick Framing
Stick framing involves assembling the roof frame piece by piece on-site. This method offers several advantages:
- Flexibility: You can easily customize the design to accommodate complex roof shapes and attic spaces.
- Control: Builders can make adjustments on the fly, ensuring that everything fits perfectly.
You may also read (what makes a house sustainable key factors explained).
However, stick framing can be time-consuming and labour-intensive.
Truss Framing
Truss framing utilizes pre-fabricated triangular trusses, which are lifted into place. Some benefits include:
- Efficiency: Trusses can be quickly installed, reducing labour time.
- Cost-Effectiveness: This method can be more economical due to reduced labour costs and material waste.
On the downside, truss framing may not be suitable for designs requiring attic rooms or cathedral ceilings.
Comparison of Stick Framing vs. Truss Framing
AspectStick FramingTruss Framing
Installation On-site assembly Pre-fabricated trusses
Flexibility Highly customizable Limited to pre-designed shapes
Cost Potentially higher Generally lower
Time More time-consuming Faster installation
Space Ideal for complex designs Less suitable for attics
Choosing between stick and truss framing depends on your specific needs and the complexity of your roof design.
Common Roof Framing Plans and Their Characteristics
Flat Roof Framing Plan
A flat roof has a horizontal surface, commonly used in modern architecture. While it offers a sleek and contemporary look, careful drainage planning is required to prevent water accumulation.
Shed Roof Framing Plan
The shed roof features a single slope, making it a simple and efficient option for small structures. It’s easy to construct and provides good rain runoff.
Hip Roof Framing Plan
A hip roof slopes on all four sides, creating a pyramid-like shape. This design offers excellent stability and is resistant to strong winds, making it a popular choice in areas prone to storms.
Gable Roof Framing Plan
The gable roof has two sloping sides that meet at a ridge, forming a triangular shape. It’s one of the most economical and popular roofing styles, allowing for good ventilation and space for attic storage.
Choosing the Right Roof Framing Plan
When deciding on a roof framing plan, consider the following factors:
- Design: The architectural style of your home.
- Climate: Weather conditions in your area.
- Budget: The costs associated with various design options.
Step-by-Step Guide: How to Frame a House Roof
Select Your Framing Method and Roof Plan
Before you begin, determine your framing method and roof plan. Consider your architectural style, budget, and structural needs.
Measure and Calculate Dimensions
Accurate measurements are critical. Use a framing square to ensure precise angles and dimensions for your rafters and framing elements.
Position the Rafters
Proper spacing and alignment are essential. Typically, rafters are spaced 16 to 24 inches apart. Secure them using nails or metal connectors.
Attach Rafter Ties
Rafter ties prevent the roof from spreading. Install them at regular intervals, ensuring they are securely fastened to both rafters.
Apply Sheathing to the Roof
Sheathing provides a solid base for roofing materials. Use plywood or oriented strand board (OSB), nailing it down securely.
Cap the Roof Rafters
Install ridge boards at the peak of the roof to cap the rafters. This adds structural integrity and helps in aligning the roofing material.
Add Waterproofing Underlayment
To protect against moisture, apply a waterproof underlayment over the sheathing. This layer is vital for preventing leaks.
Install Roofing Material
Choose your roofing material, such as shingles, tiles, or metal sheets. Follow the manufacturer’s instructions for proper installation techniques.
You may also read (how much does it cost to carpet a 3 bed house in the uk).
Tips, Tools, and Common Mistakes
- Tools Needed: Framing square, saws, hammers, nail guns, ladders, and safety gear.
- Common Mistakes: Overlooking measurements, improper rafter spacing, and failing to observe safety precautions.
Essential Tools and Materials for Roof Framing
Basic Tools
- Framing Square: For accurate measurements and angles.
- Saws: Circular saws or hand saws for cutting lumber.
- Hammers: For nailing rafters and ties.
- Nail Guns: To speed up the nailing process.
- Ladders: For safely reaching the roof.
- Safety Gear: Helmets, gloves, and goggles to protect yourself.
Materials
- Lumber Types: Choose quality lumber for rafters and ties.
- Nails: Use galvanized nails to resist rust.
- Sheathing Boards: Plywood or OSB for the roof base.
- Underlayment: Waterproof material to prevent leaks.
- Roofing Materials: Options include shingles, tiles, or metal sheets.
Investing in high-quality tools and materials is essential for ensuring safety and durability.
Safety Precautions and Best Practices During Roof Framing
Safety should always be a priority when framing a roof. Here are some essential precautions:
- Personal Protective Equipment (PPE): Always wear helmets, gloves, and goggles to protect yourself.
- Stable Ladders: Ensure your ladders are stable and positioned correctly.
- Safe Handling of Power Tools: Always follow all safety guidelines when using power tools.
- Work with a Partner: Whenever possible, have someone assist you to prevent accidents.
Common Challenges in Roof Framing and How to Overcome Them
Dealing with Complex Roof Designs
Complex roof designs can be daunting. To overcome this, break down the design into simpler sections and tackle each part individually.
Managing Weather Conditions
Weather can impact your roofing project. If possible, schedule your work for dry days and avoid framing during periods of high wind or storms.
Avoiding Measurement Errors
Double-check all measurements before cutting. Use a framing square for accuracy.
Tips for Troubleshooting
If you encounter issues, consult online resources or seek advice from professionals. Quality artistry is crucial for a long-lasting roof.
You may also read (elevate your home with a mansard roof design).